
When sewing with kids, hand sewing is usually the place to start. It’s easier for kids to handle, helps them develop their hand-eye coordination, and is safer than working with a sewing machine for younger kids.
If your child wants to learn how to hand sew, we’ll be going through 5 basic hand sewing stitches to help you teach your kid (or yourself) how to hand sew.
Types of Hand Sewing Stitches
There are quite a few hand sewing stitches out there, but these 5 are some of the most useful and commonly used:
- running stitch
- backstitch
- blanket stitch
- whip stitch
- ladder stitch
Preparing to Sew
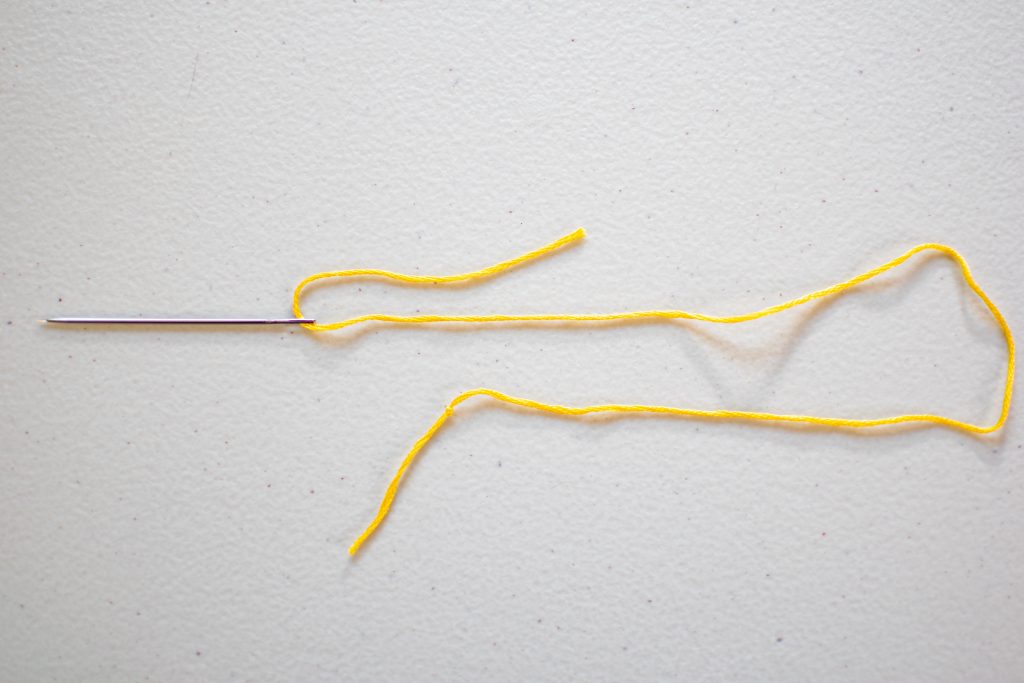
For any of these 5 hand sewing stiches, you’ll first need to get your needle and thread prepped and ready to go. For kids, a larger sized tapestry needle will be easier to handle than a tiny, uber-sharp regular hand sewing needle. Embroidery thread or another thicker thread will also be easier to see and manipulate for a beginner.
Thread the tapestry needle and knot the long end of the thread with a double knot.
Next, let’s go through each individual stitch and the details on how to sew it.
Running Stitch
A basic running stitch is the easiest of the hand sewing stitches, so it’s the perfect first stitch to learn. In fact, our fun kids sewing kits utilize the running stitch, making them wonderful projects for kids who are new to sewing.
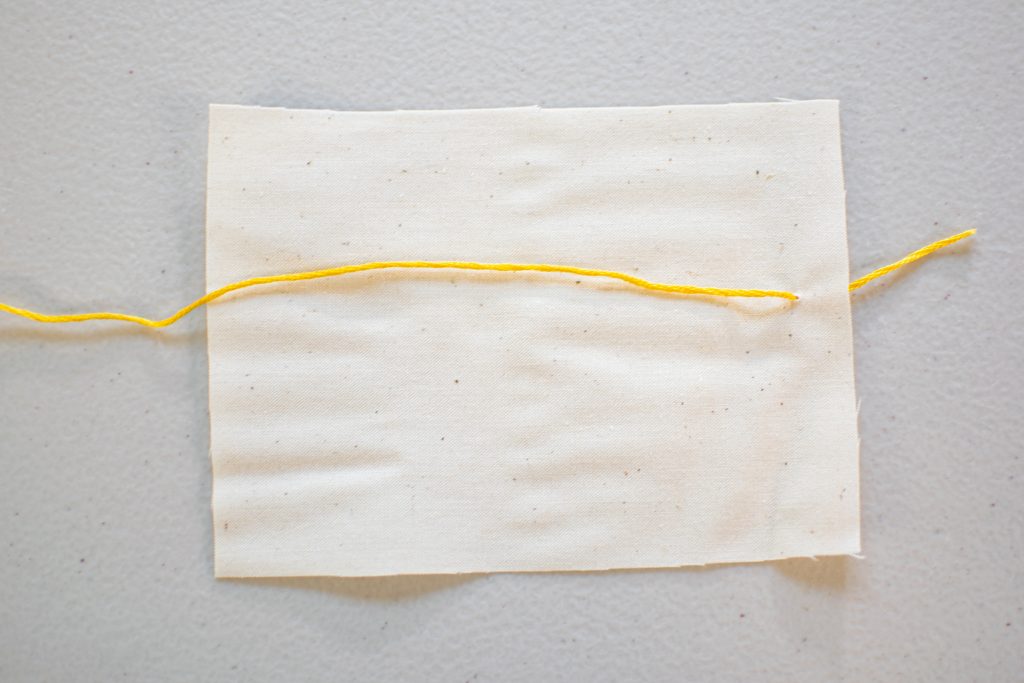
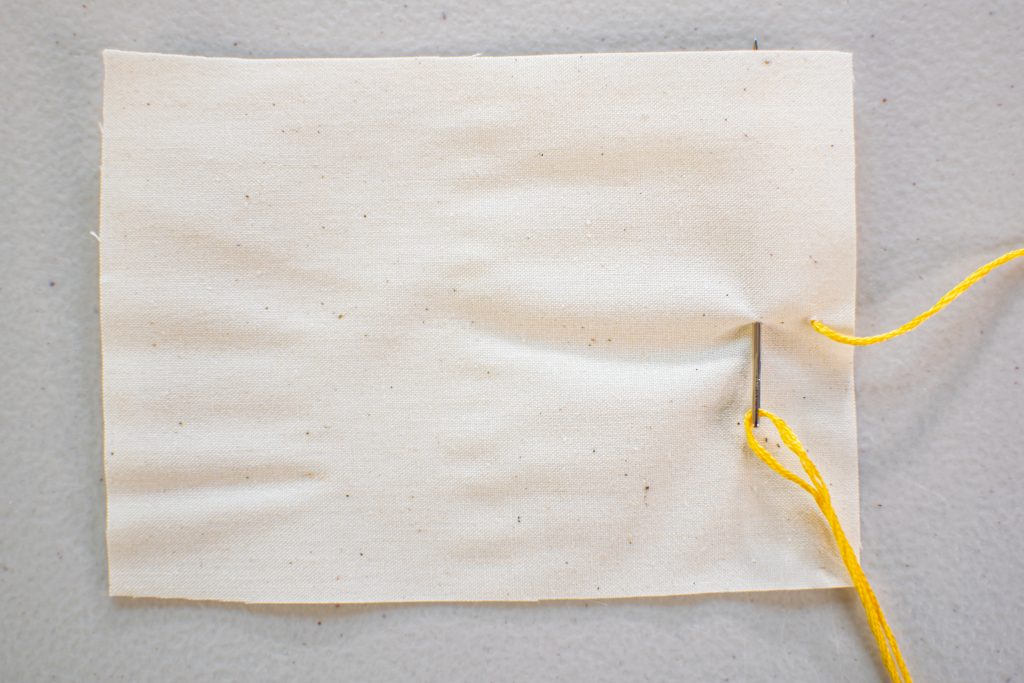
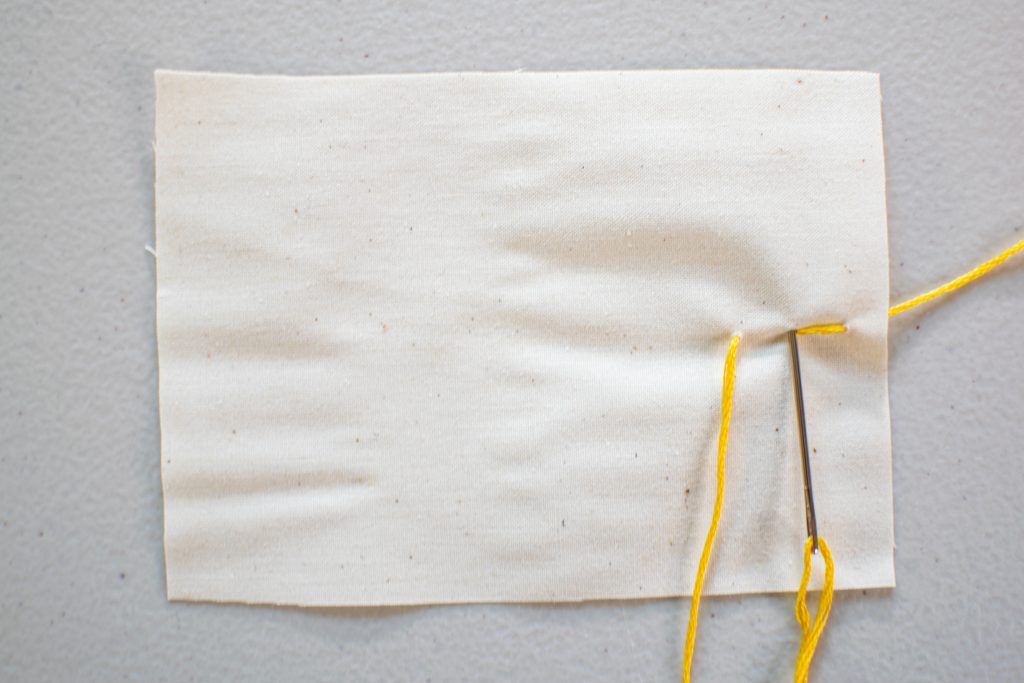
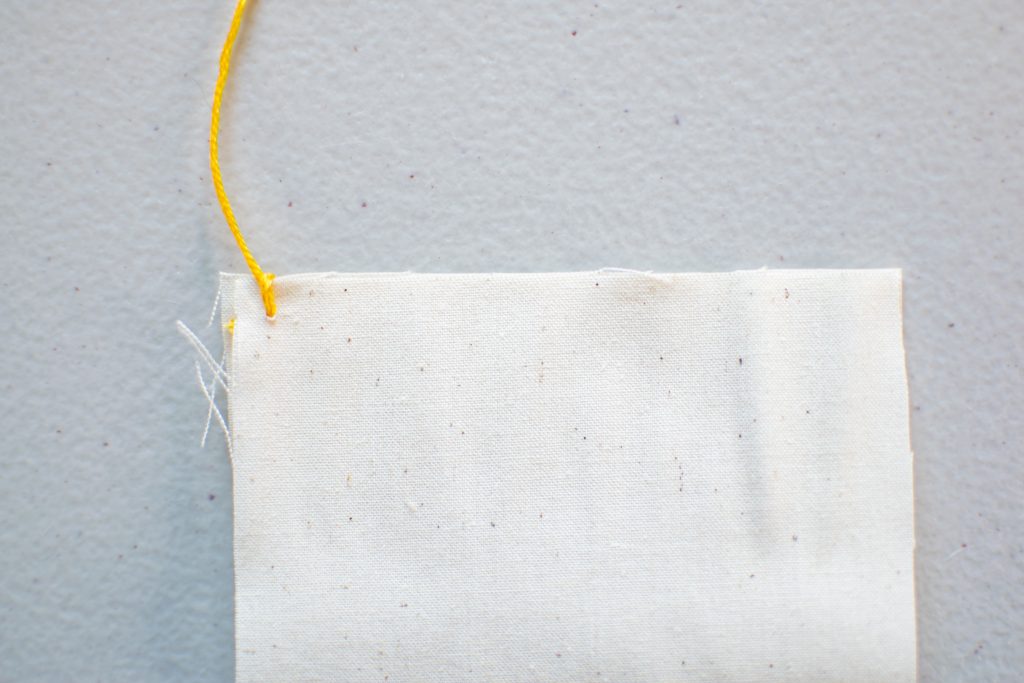
To start the running stitch, push the needle through the fabric from back to front.
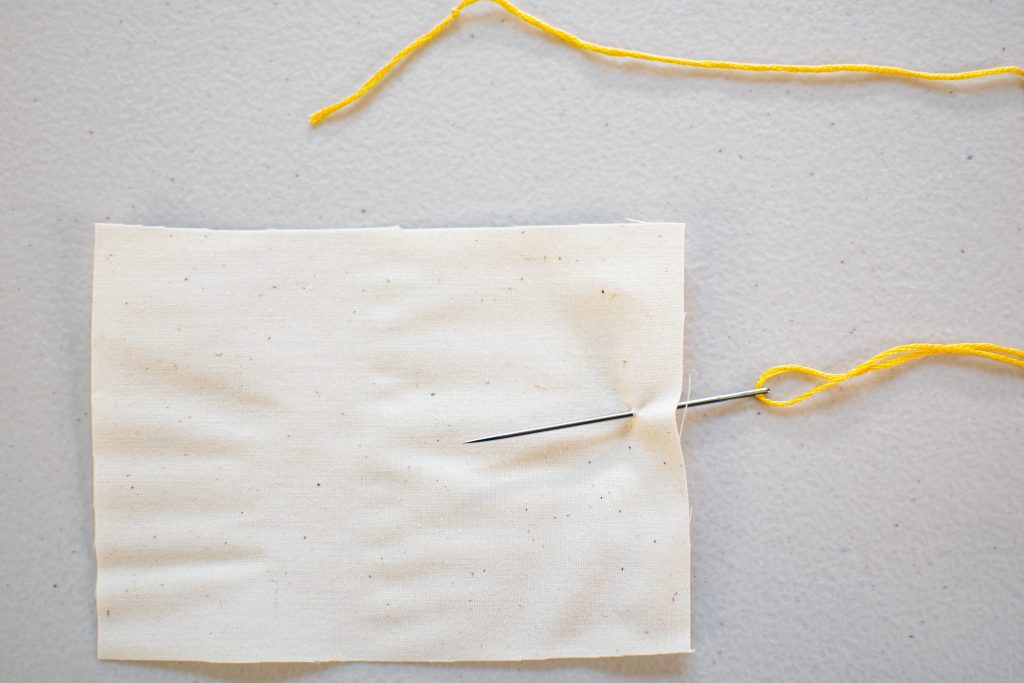
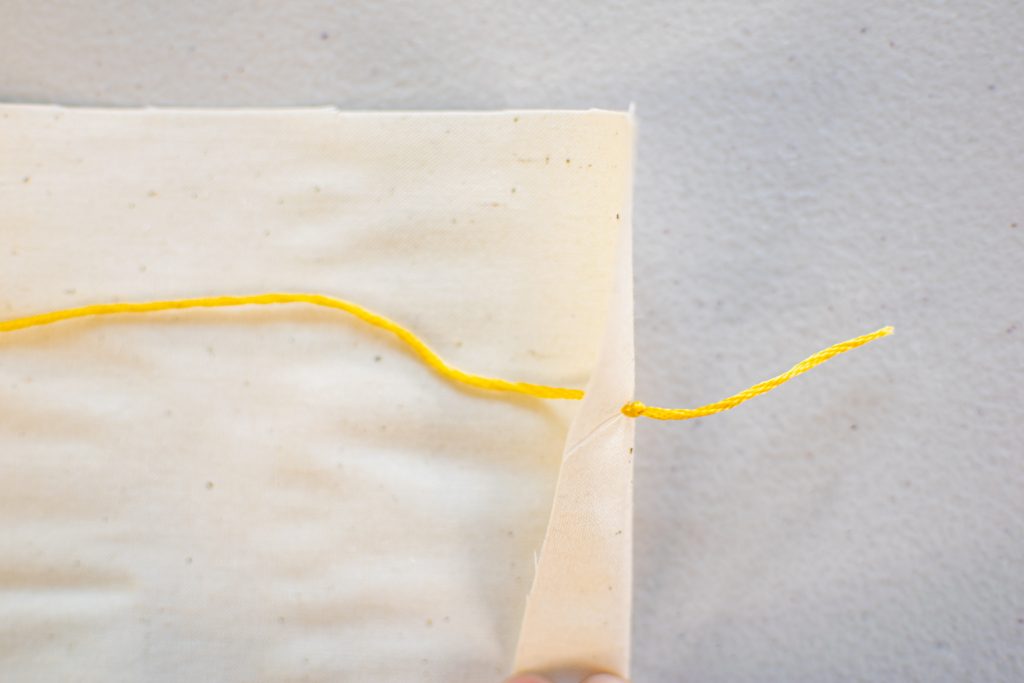
Pull the thread through the fabric until the knot is taut against the back of the fabric.
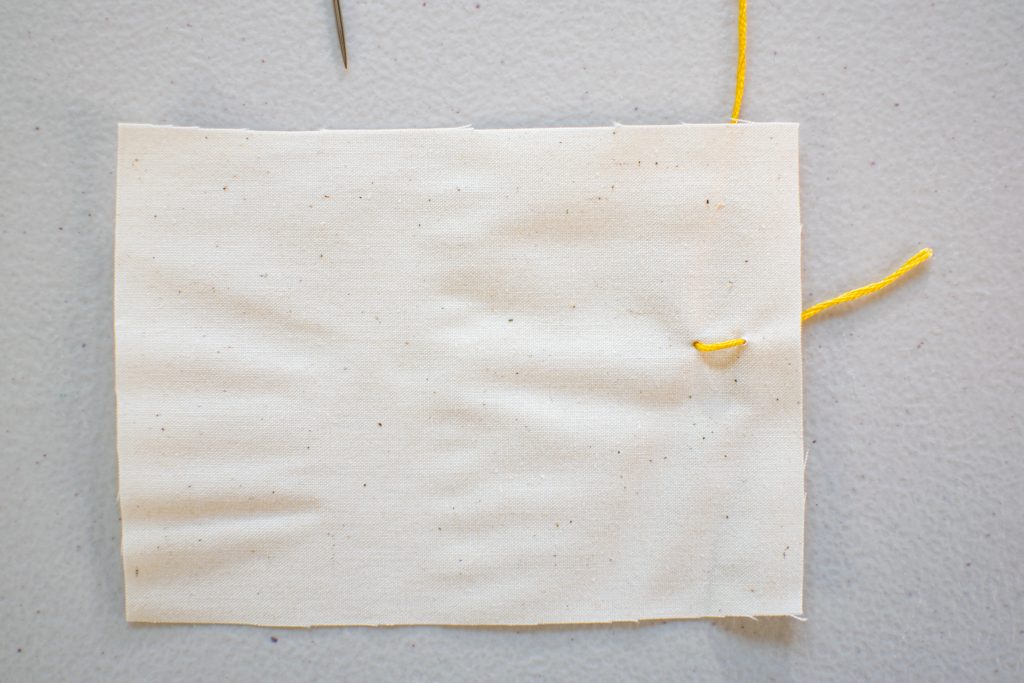
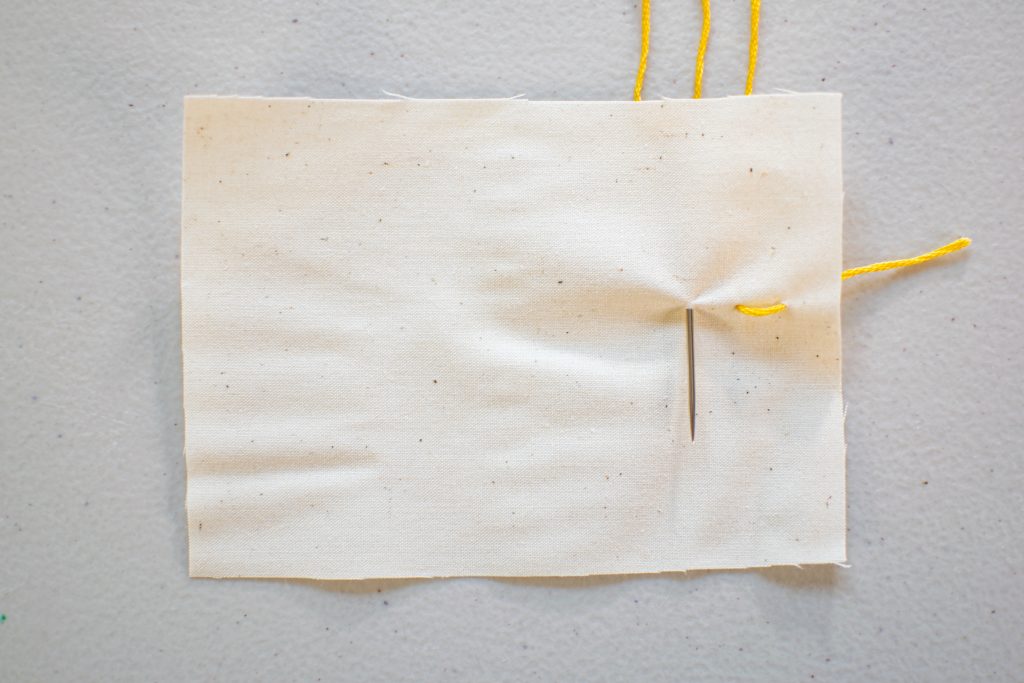
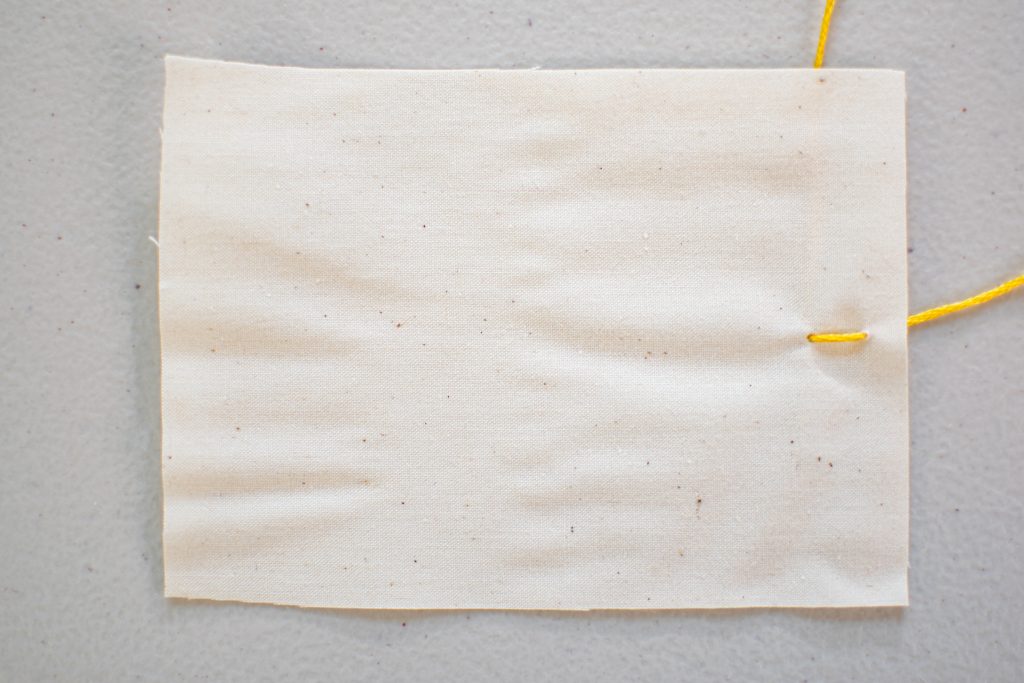
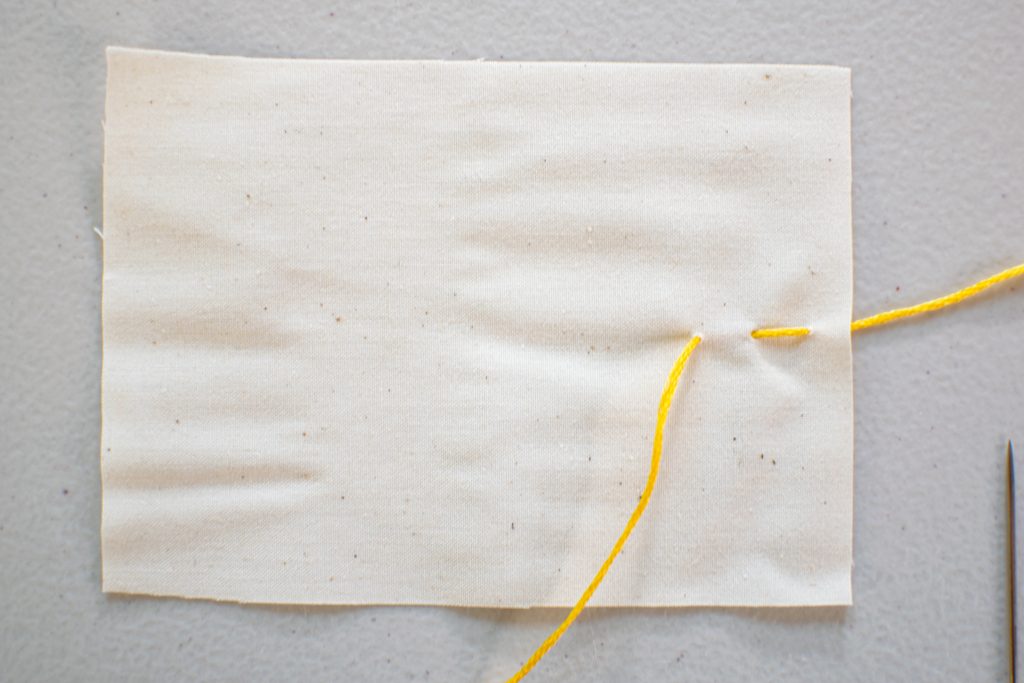
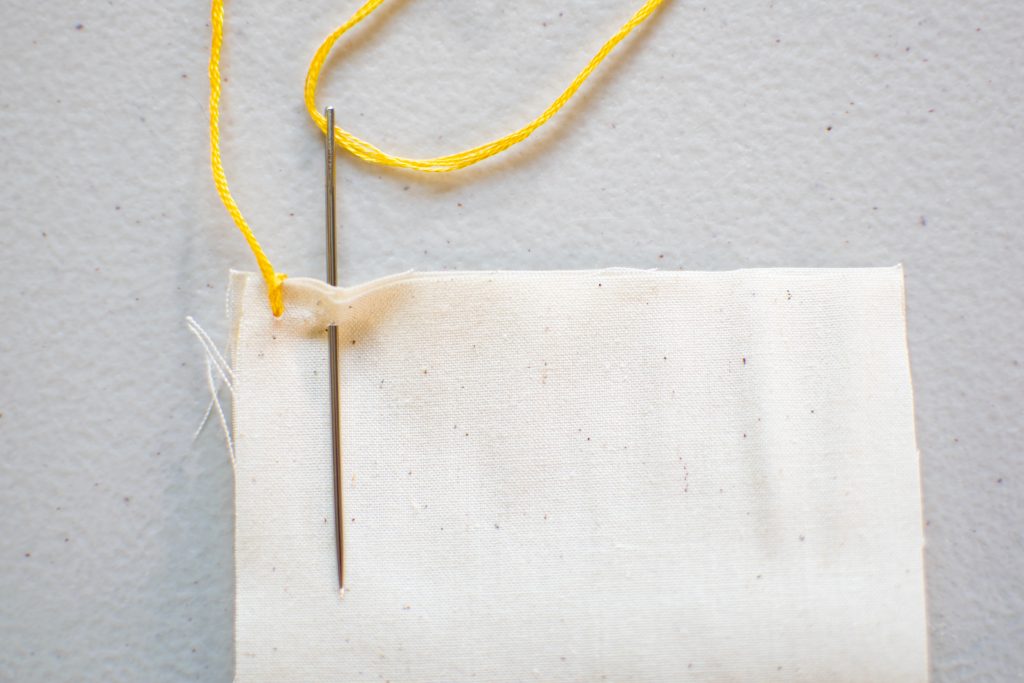
Next, push the needle down through the fabric from top to bottom, about ¼ inch over from the knot.

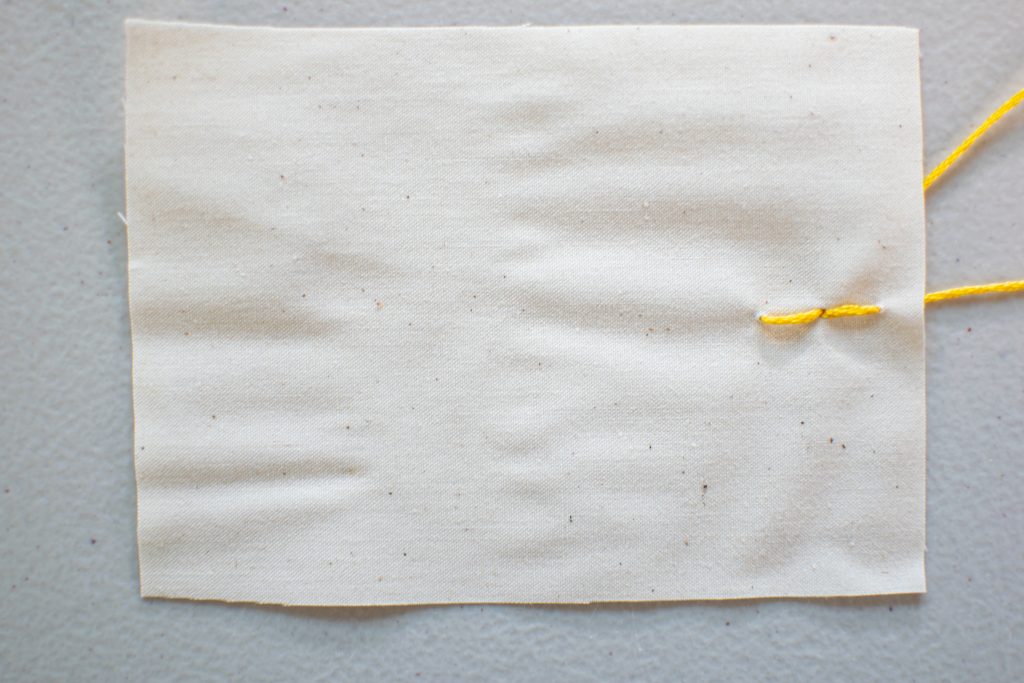
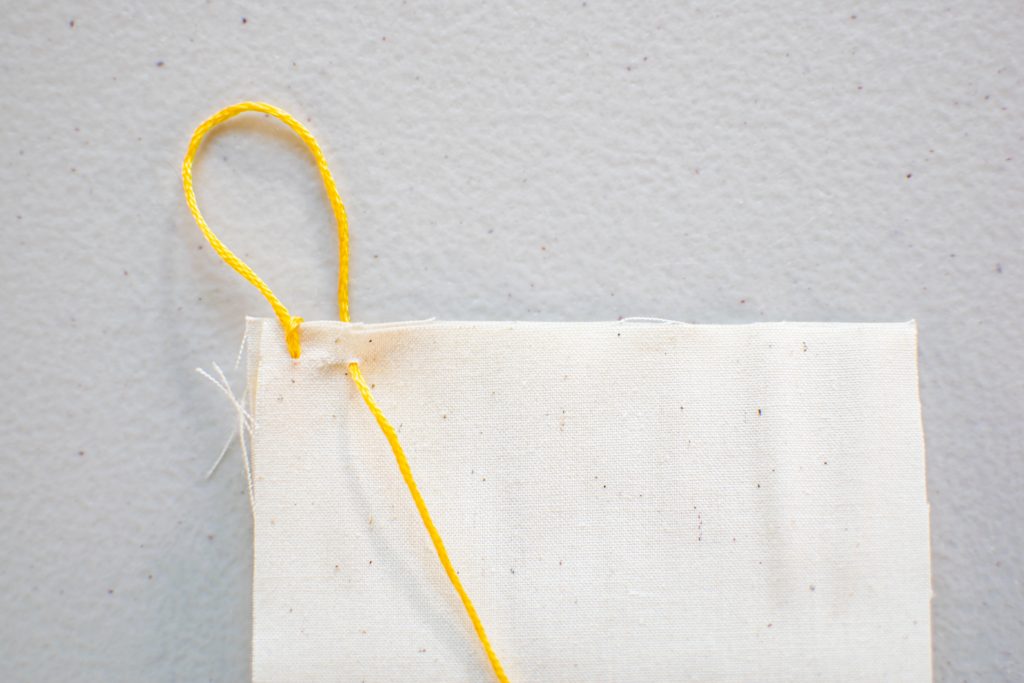
Pull the thread through the fabric until the stitch is flat, but not so tight that it’s causing the fabric to pull and gather.
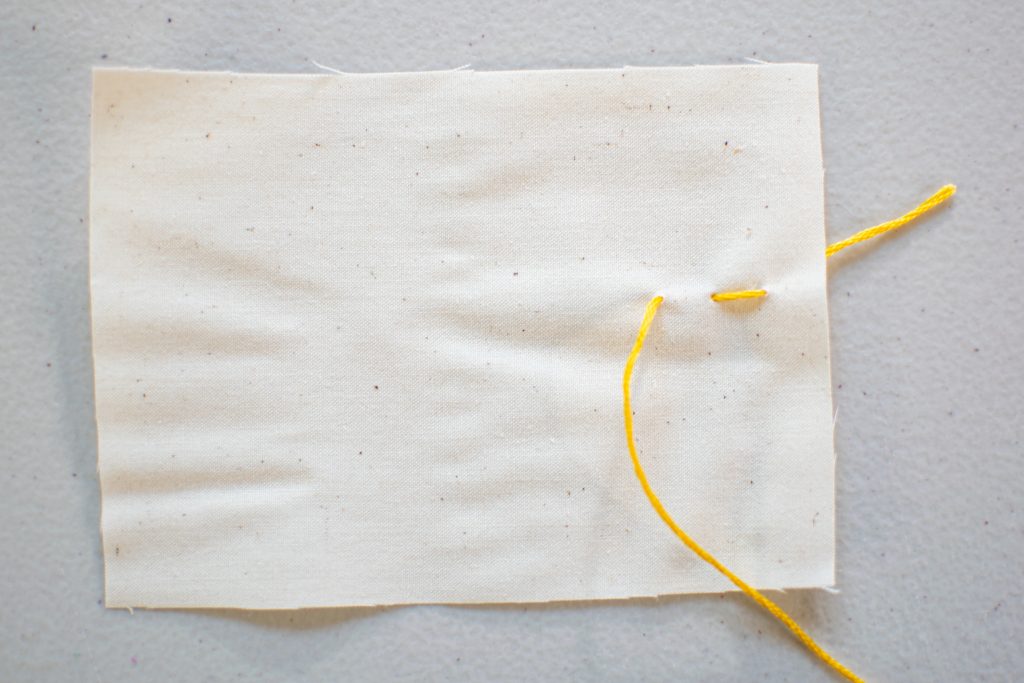
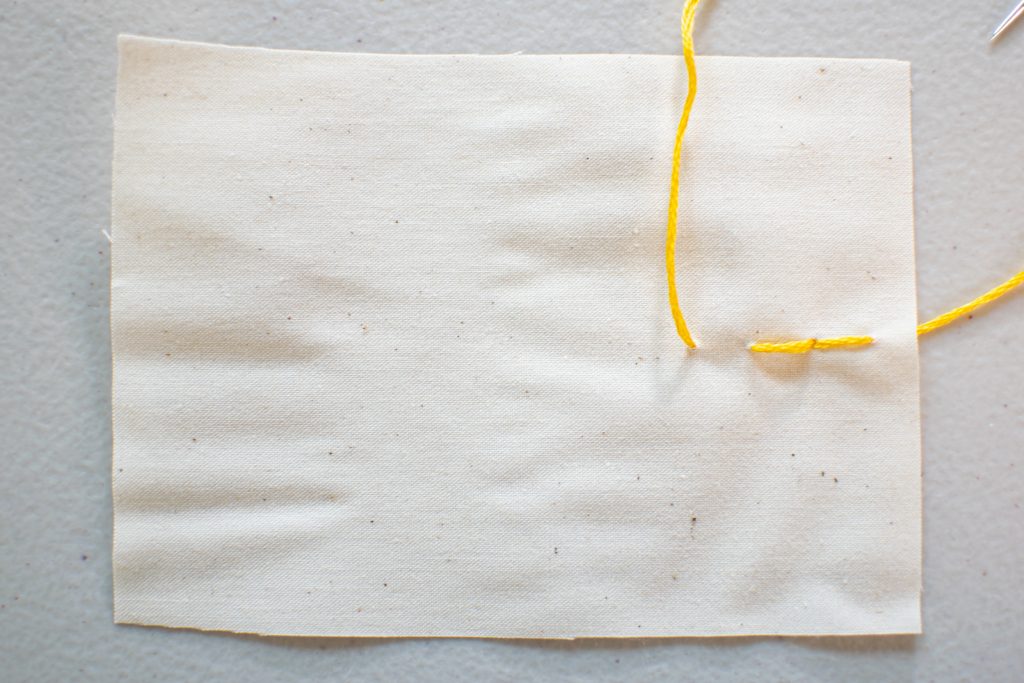
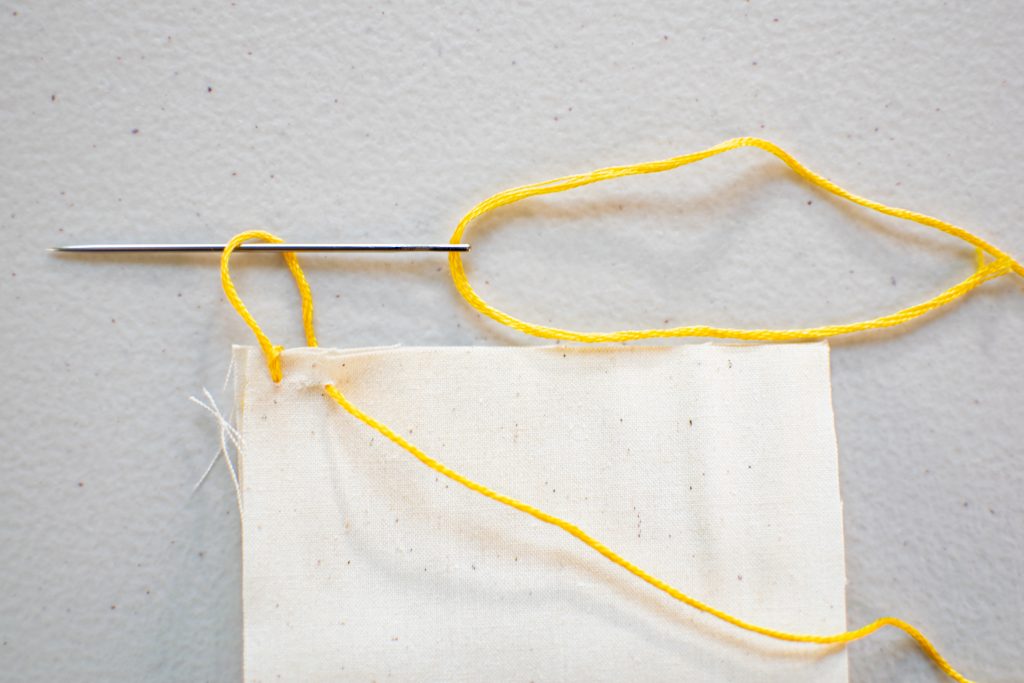
Push the needle back through the fabric, another ¼ inch over from your first stitch. Once again, pull the stitch taut, but not tight enough to gather up the fabric.
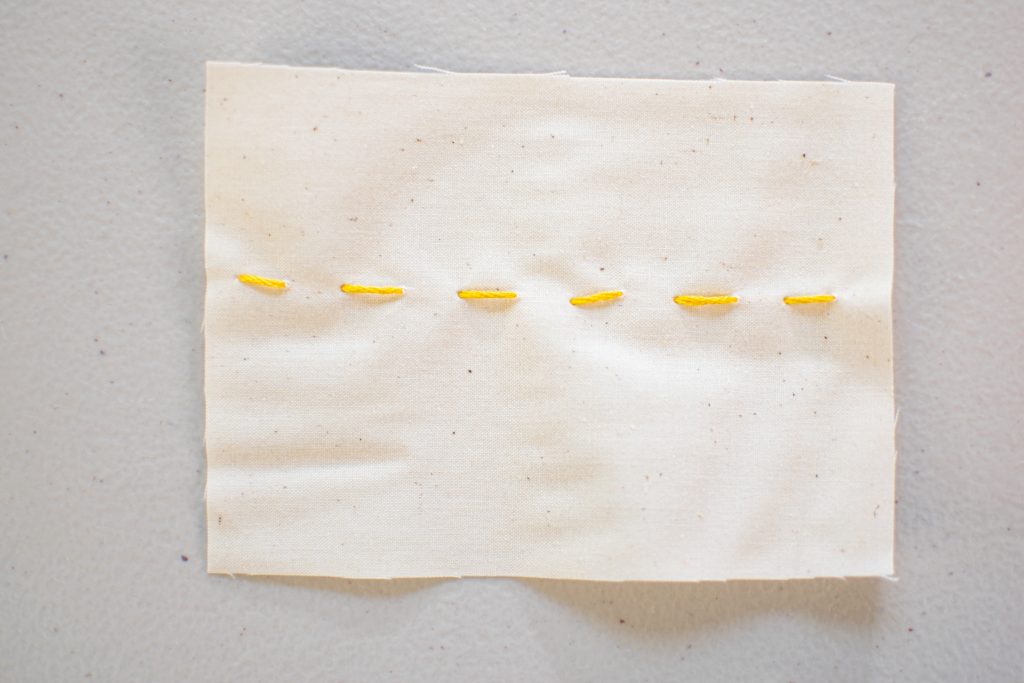
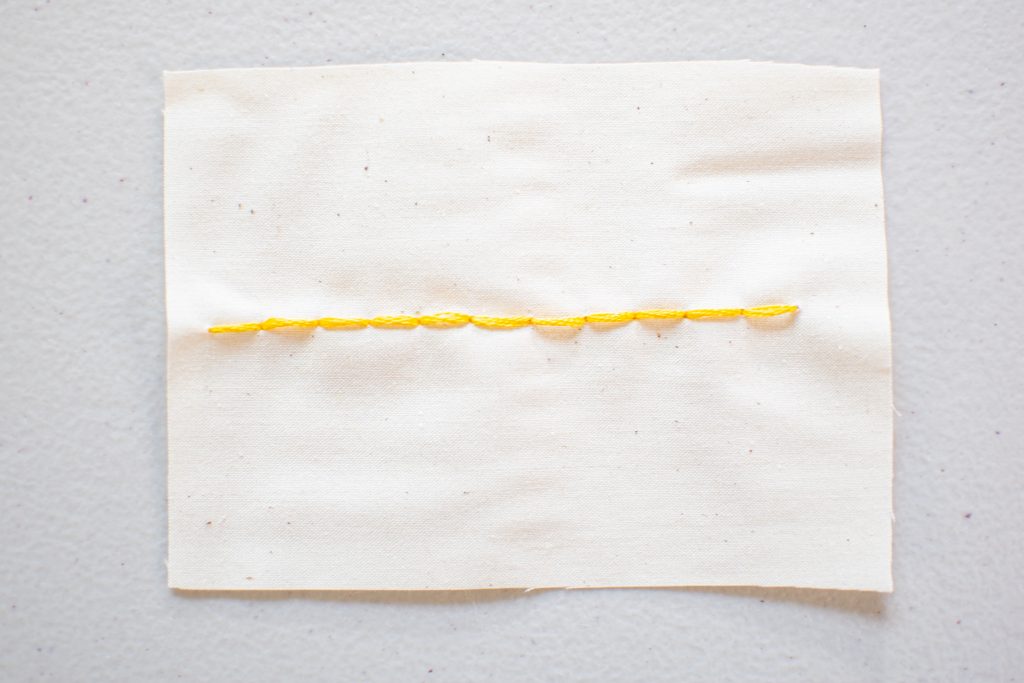
Repeat this stitching pattern along the entire length of your seam to form a nice line of running stitches. If you’re teaching your kids how to sew a basic running stitch, have them practice sewing straight lines and getting their stitches as evenly sized as possible.
Backstitch
The backstitch is a very useful stitch to learn. It takes a bit more practice to get nice even stitching, but the resulting seam is strong, making it great for projects that need to hold up to some wear and tear. It’s also a great stitch for hand embroidery since it doesn’t have the spaces between stitches that you see in the running stitch – meaning you’ll have nice continuous lines for your embroidery designs.
The backstitch starts the same as the running stitch: push the needle up through the fabric from back to front, pulling the thread through until the knot is taut against the fabric.

Next, just like with the running stitch, push the needle back down through the fabric from front to back about ¼ inch over from the knot.
Pull the thread all the way through the fabric until the stitch is taut and flat against the fabric.
Again, push the needle back up through the fabric ¼ inch away from your first stitch.
Here is where the backstitch starts to differ from the running stitch: instead of continuing the stitching line away from the knot, insert the needle through the same hole as the closest side of the first stitch. Basically, you’re making one stitch backwards in order to fill in the gap between stitches.
Pull the thread taut, but not tight enough to pull on the fabric.
Next, push the needle up through the fabric ¼ inch away from the far side of the second stitch – so, ½ inch over from where the thread is currently coming out from the fabric.
Make another backwards stitch to fill in the gap you just created – you’ll now have three beautiful stitches!

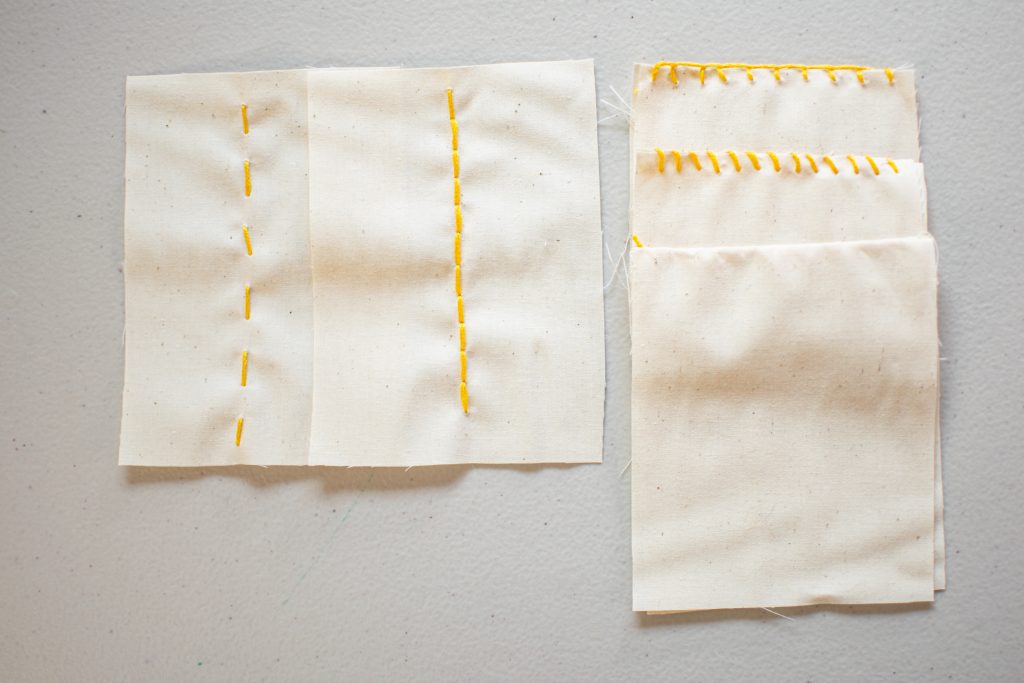
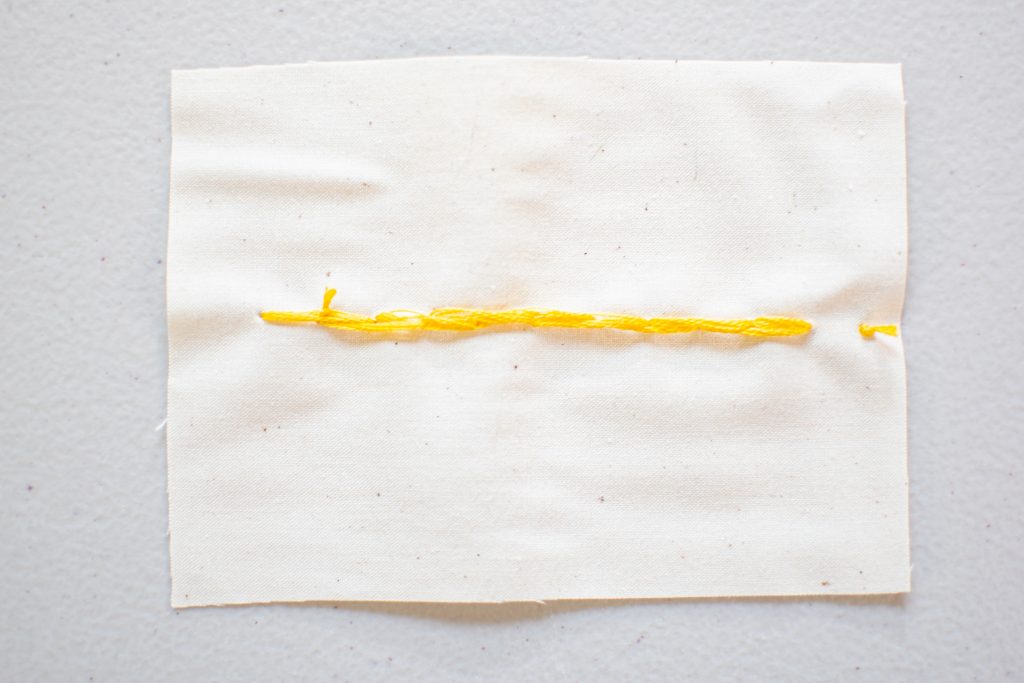
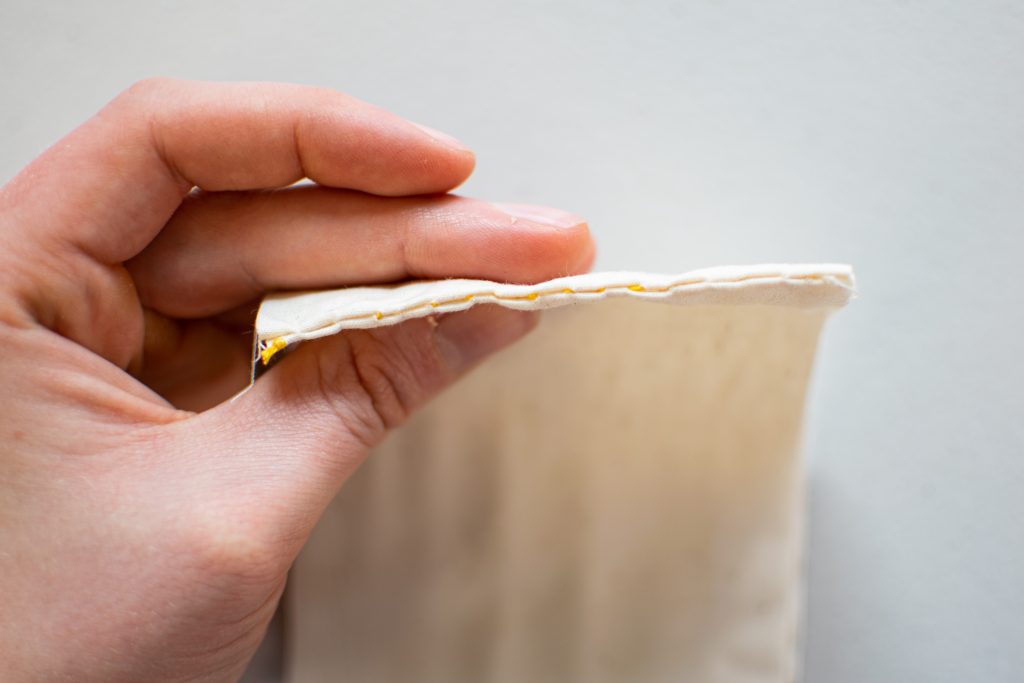
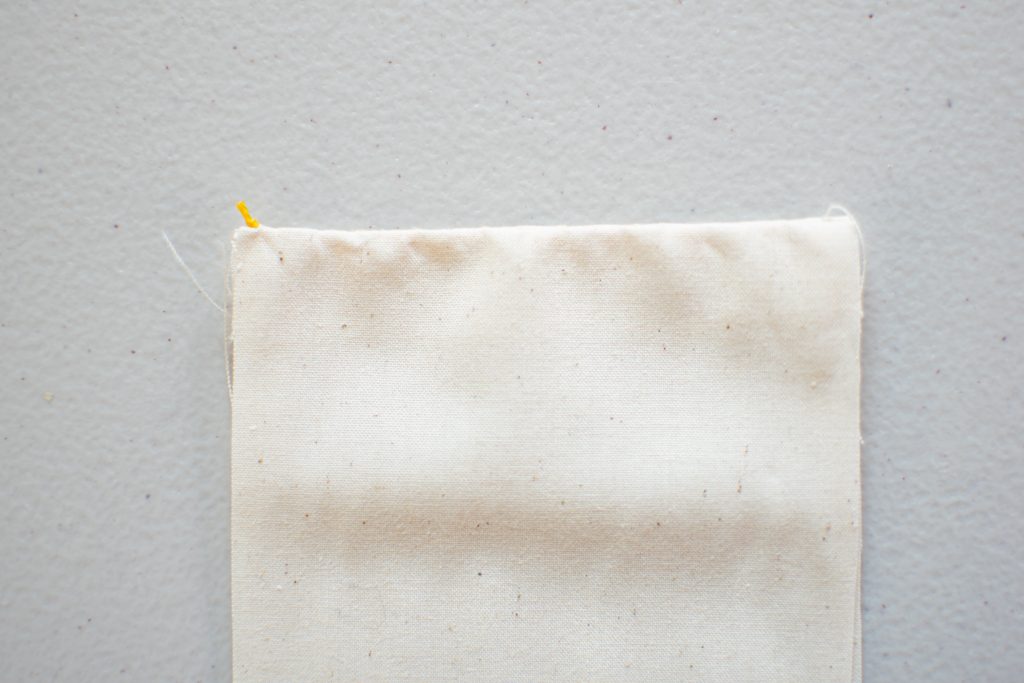
Continue this pattern to finish your continuous line of backstitches. Here is how it will look from the right side (the outside):
And here is how it will look from the wrong side:
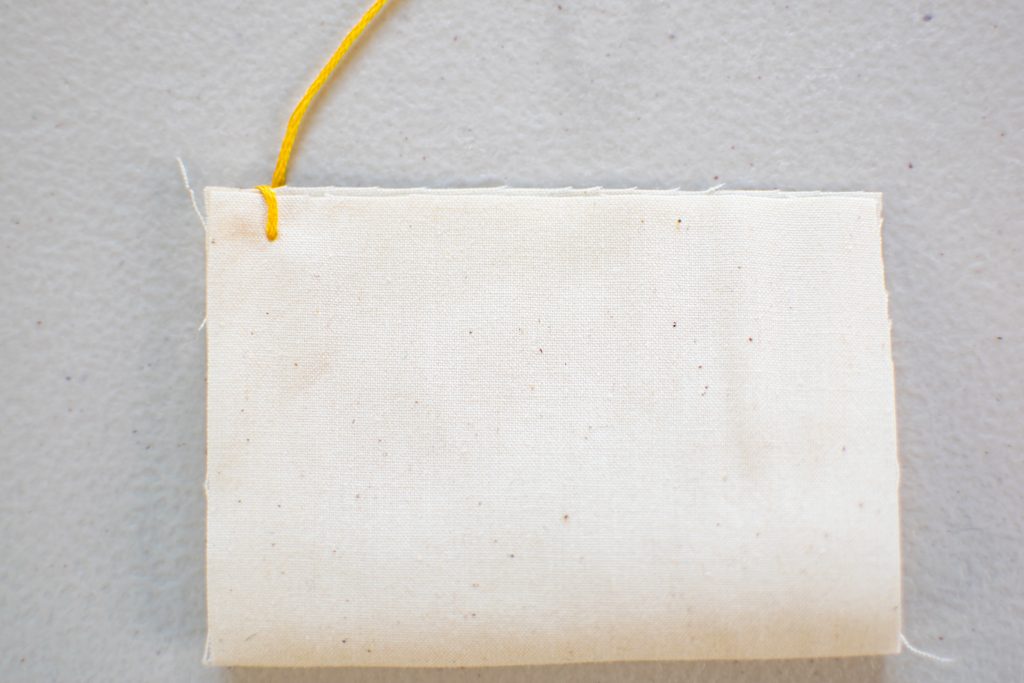
Blanket Stitch
Next up, let’s go through how to sew a blanket stitch. This stitch is often used to finish the raw edges of blankets to give them a nice finish that keeps them from fraying. It’s also useful as a beautiful, decorative finish for other projects.
For this stitch, we will be sewing two edges of fabric together. To start, push the needle up through the top layer of fabric from back to front.
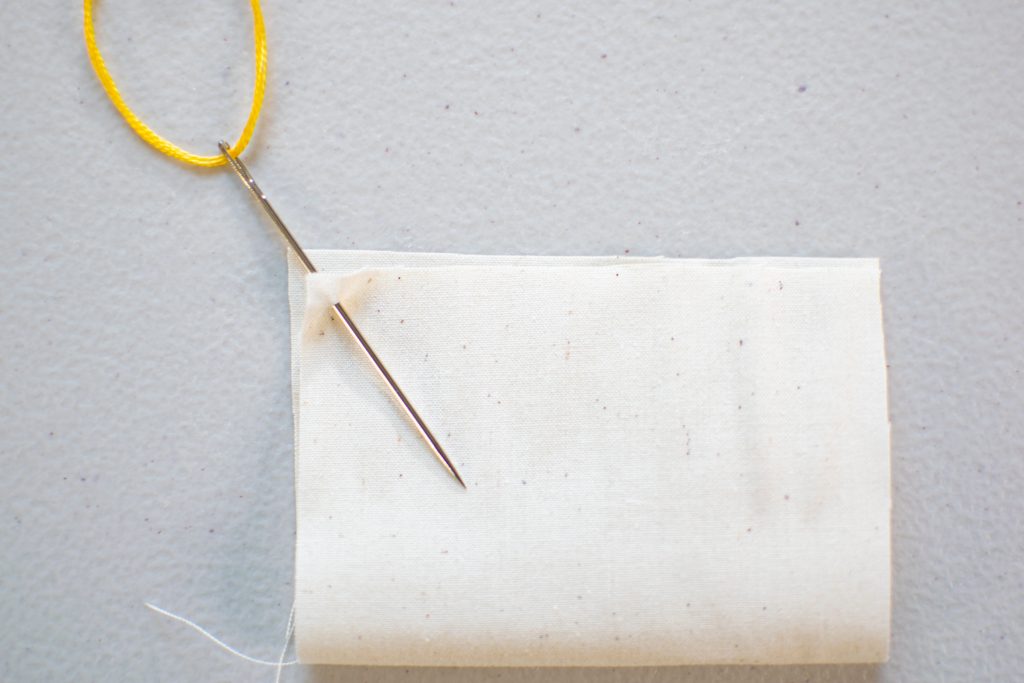
Pull the thread through until the knot is pushed against the fabric. Starting this way allows us to hide the knot inside of the seam.
Next, take the needle to the back of the seam and push it up through both layers of fabric, going through the same hole that the knot is laying against. Pull the thread partially through, but leave a small loop.

Insert the needle into the loop of thread you just left.
Pull the needle and thread through the loop until it has tightened down to the seam – but not tight enough it distorts the fabric.
Push the needle back up through both layers of fabric about ¼ inch over from the first stitch.
Pull the thread partially through, leaving another thread loop.
Push the needle through the loop, the same way you did with the first stitch.
Once again, pull the thread through the loop to tighten the stitch down to the fabric. Just make sure not to over-tighten the thread.

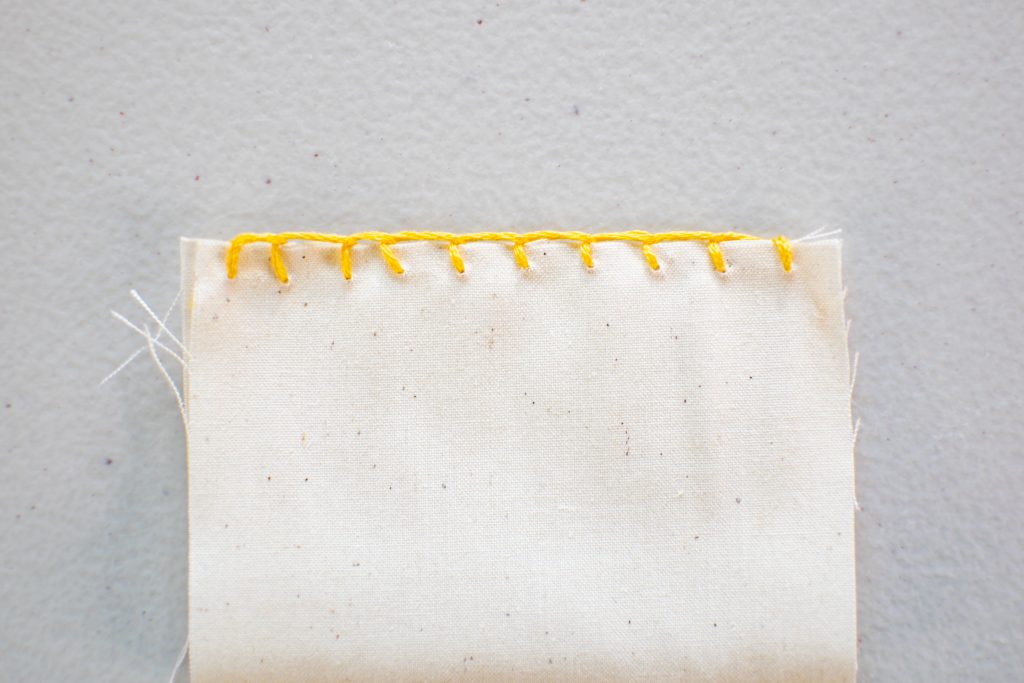
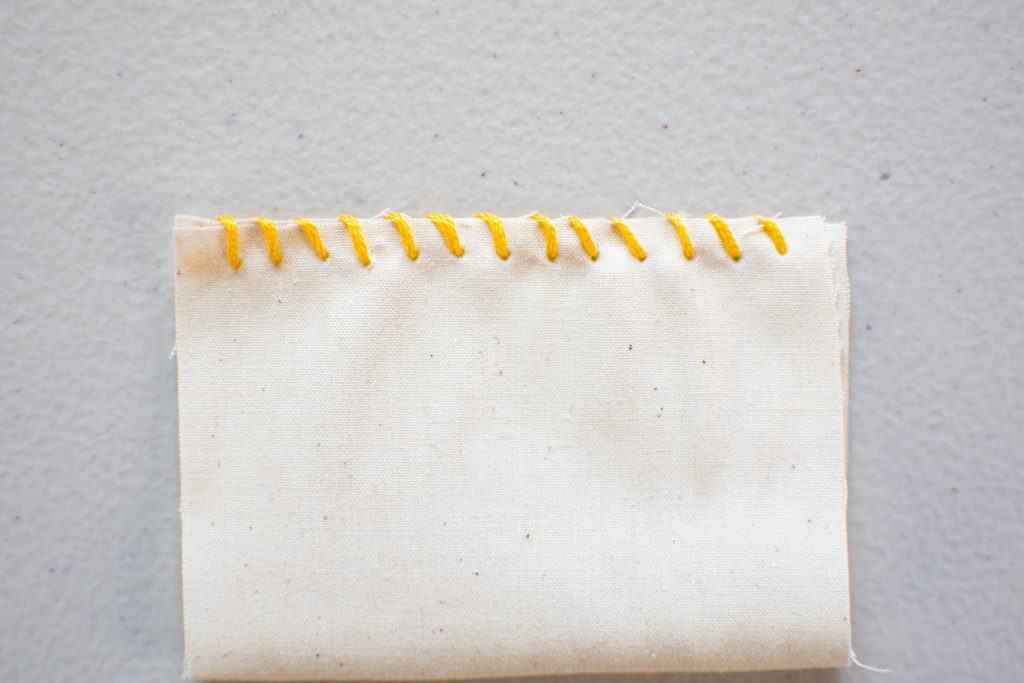
Repeat this process all the way along your seam to cover the raw edges in beautiful blanket stitches.
Whip Stitch
Next up, we have the whip stitch. This is another great way to finish edges or join pieces of felt together. It’s also a great stitch to know when you need to loosely hold pieces of fabric together.
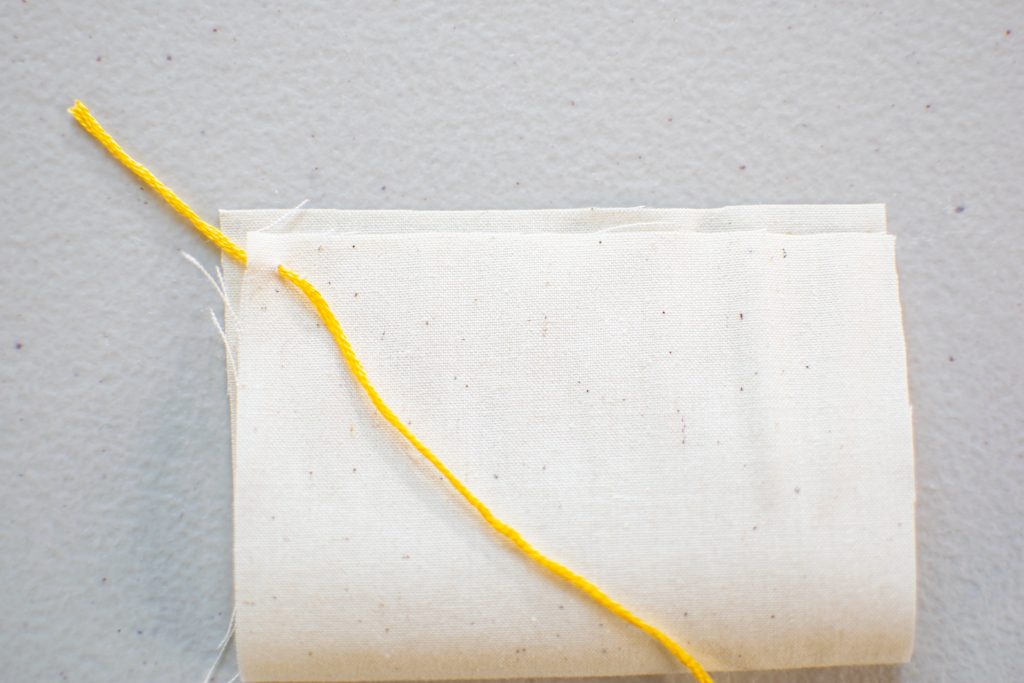
Just as we did with the blanket stitch, we’ll be joining two edges of fabric together to demonstrate the whip stitch. To start this stitch, insert the needle from front to back on the lower piece of fabric only.
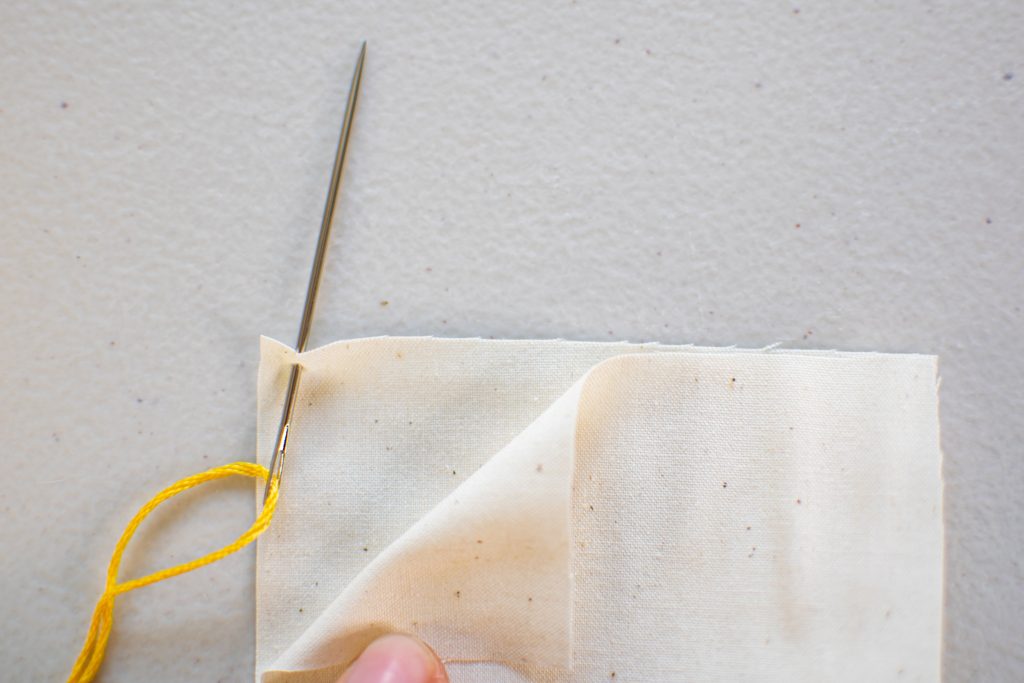
Pull the thread through until the knot is against the fabric. The knot will be hidden between the two layers of fabric.
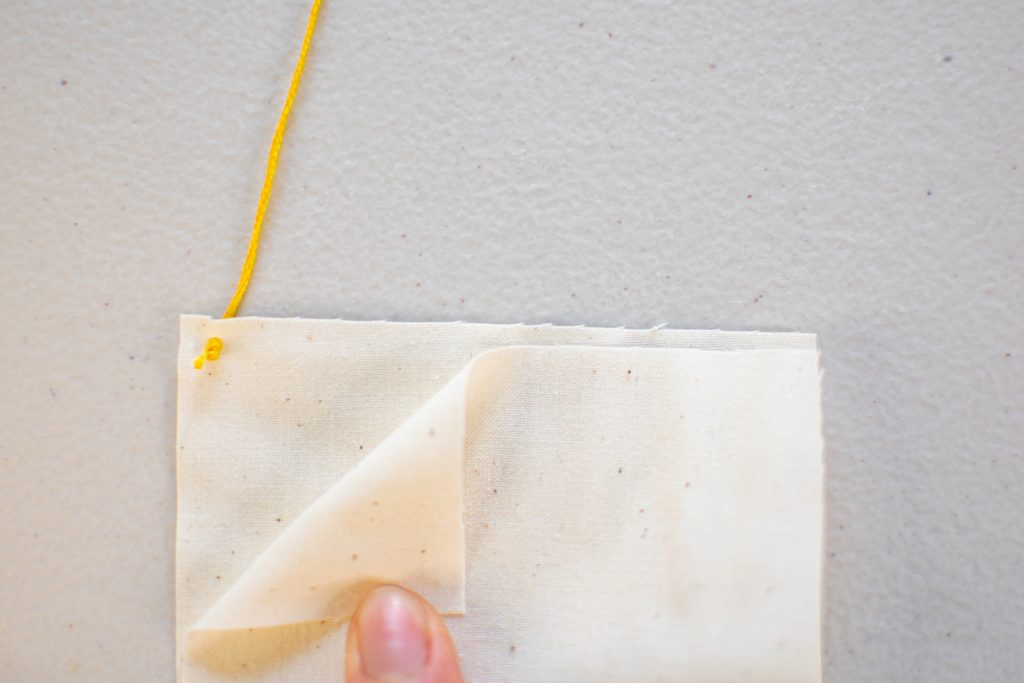
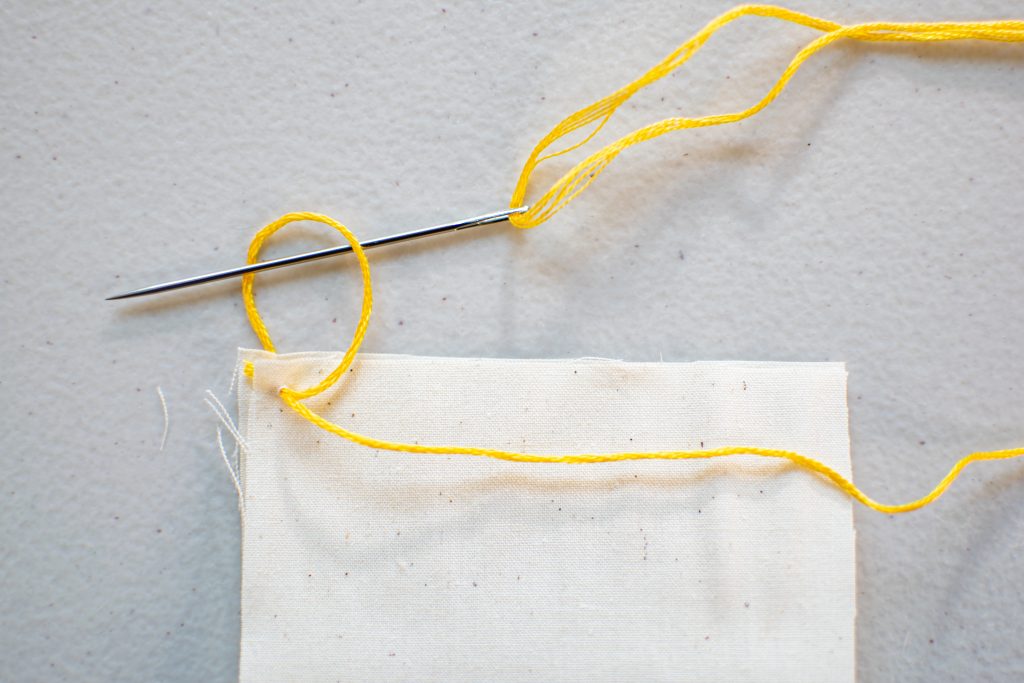
Next, wrap the thread up and over the raw edges of the fabric and push the needle from front to back through both layers.
Next, pull the thread up and over the edge of the fabric again, pushing the needle down through both layers about ¼ inch over from the first stitch.

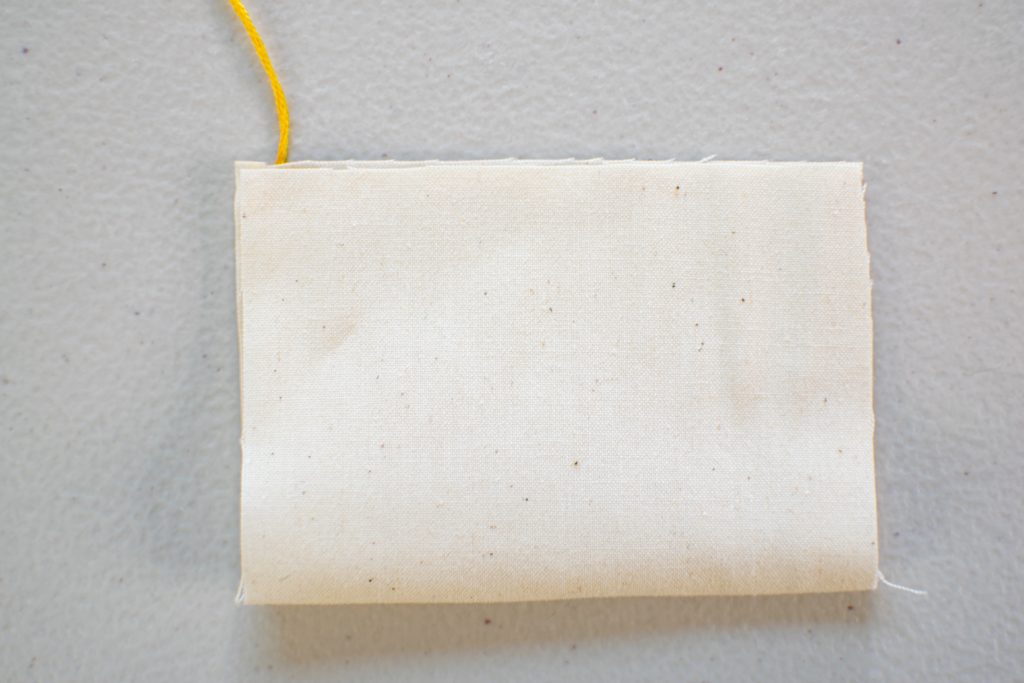
Repeat that process along the entire edge you’re sewing to form a nice finish over the raw edges.
Ladder Stitch
The final stitch we’ll be going through today is one of the most useful, especially once you or your child gets started with sewing on a sewing machine – the ladder stitch. This stitch is often used to invisibly close up openings in a seam, which are often left after turning a garment, bag, or other project right sides out after sewing on a machine.
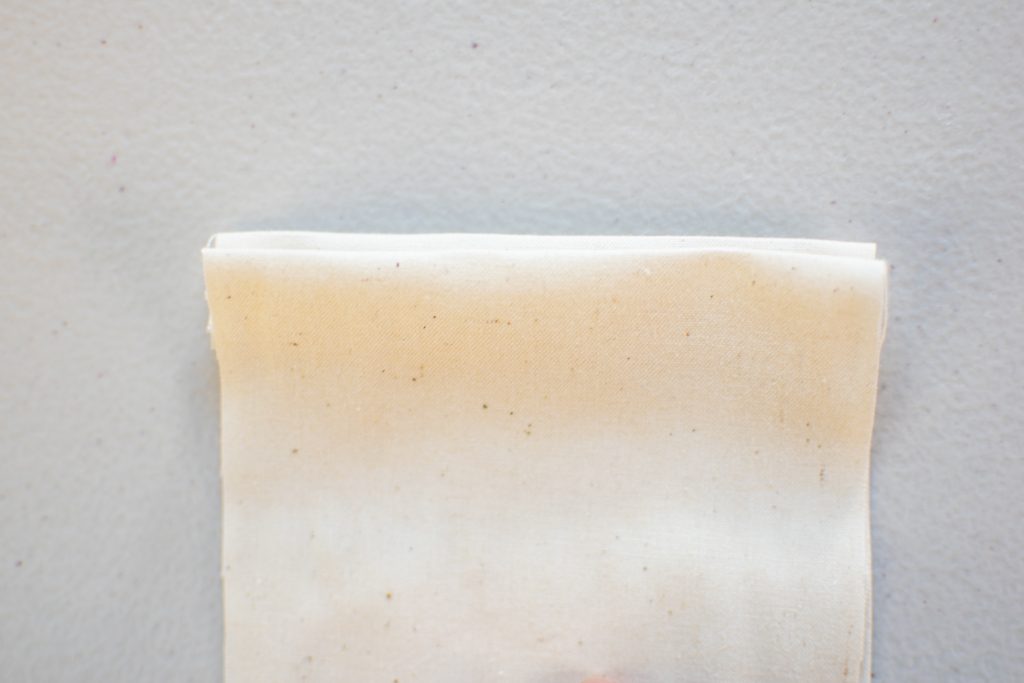
For this tutorial, we will be sewing together two pieces of fabric with their seam allowances folded in, and we will be working from the right side of the seam.
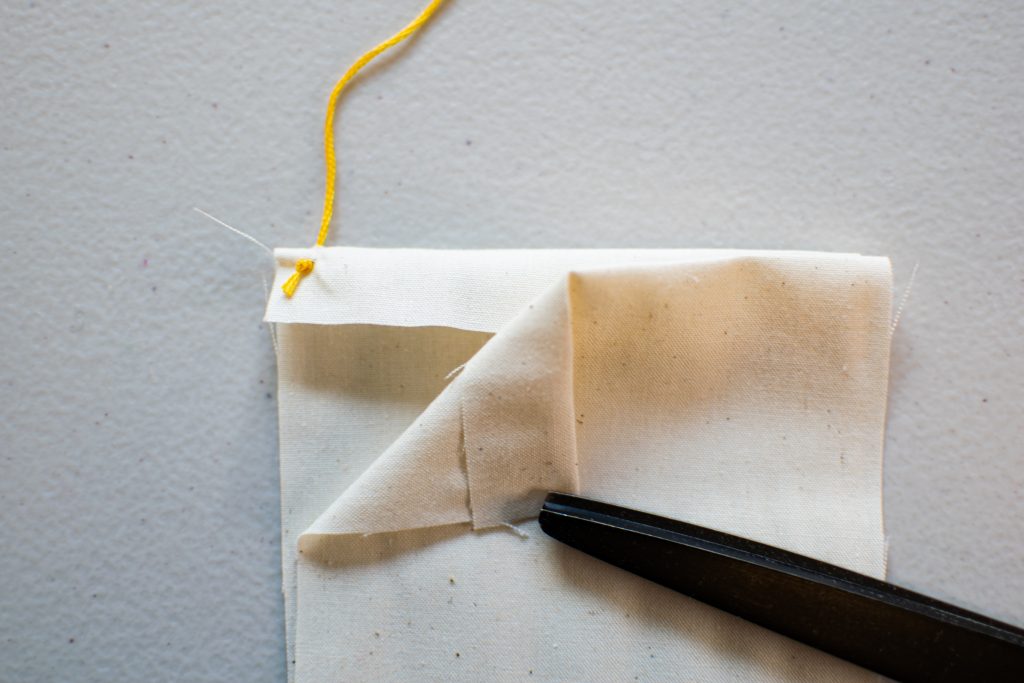
First, push the needle up through the seam allowance of the lower piece of fabric, starting low in the seam allowance and pushing the needle out near the top of the fold.
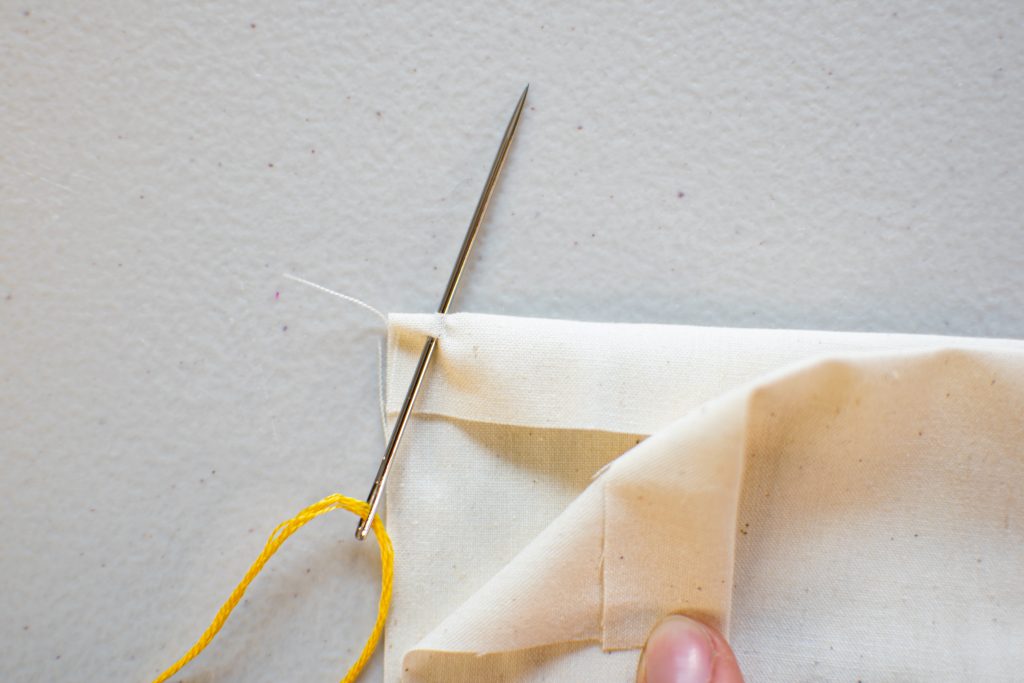
Pull the thread through until the knot is tight against the fabric. The knot will be hidden inside the seam.
Next, insert the needle into the seam allowance directly opposite the knot, pushing it out of the fabric about 1/8 of an inch further along the seam. You want to keep your needle within the seam allowance, parallel to the folded edge, and stay just below the top of the fold.
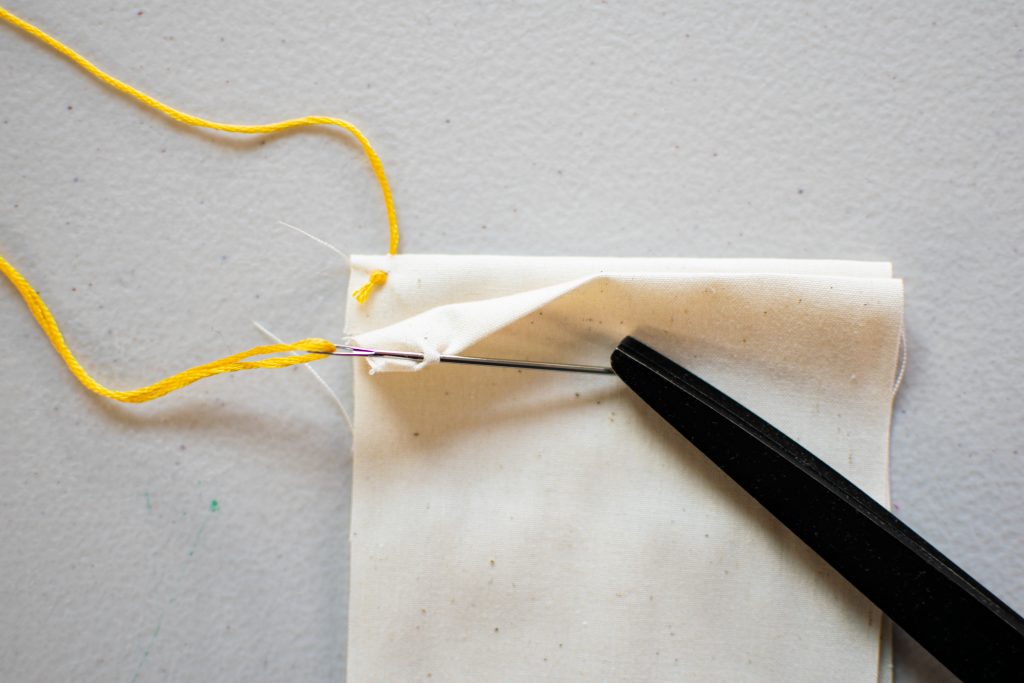
Pull the thread through, pulling the seams together so that the stitch is taut but not so tight it causes the fabric to pucker.
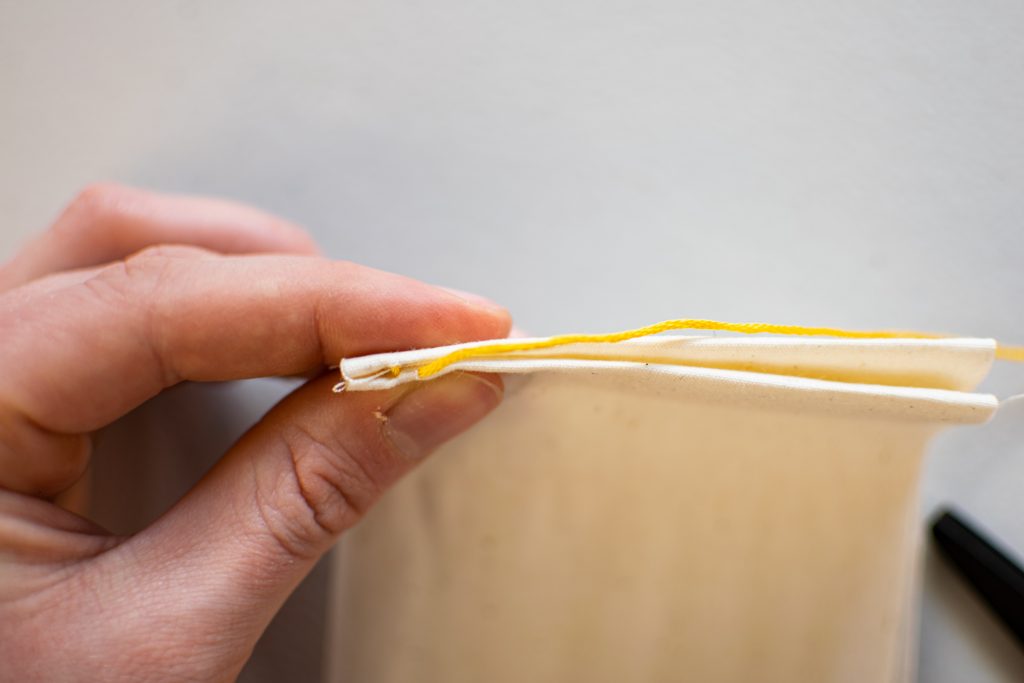
Repeat that same process in the other direction, pushing the needle through the seam allowance directly opposite your first stitch. Pull the thread taut to form your second stitch.

Repeat that process to form a third stitch.
Continue this pattern all the way down your seam, periodically tightening the thread gently as you go, but making sure not to pull enough to pucker the fabric. The stitches should disappear into the seam, leaving a secure seam with invisible stitching.
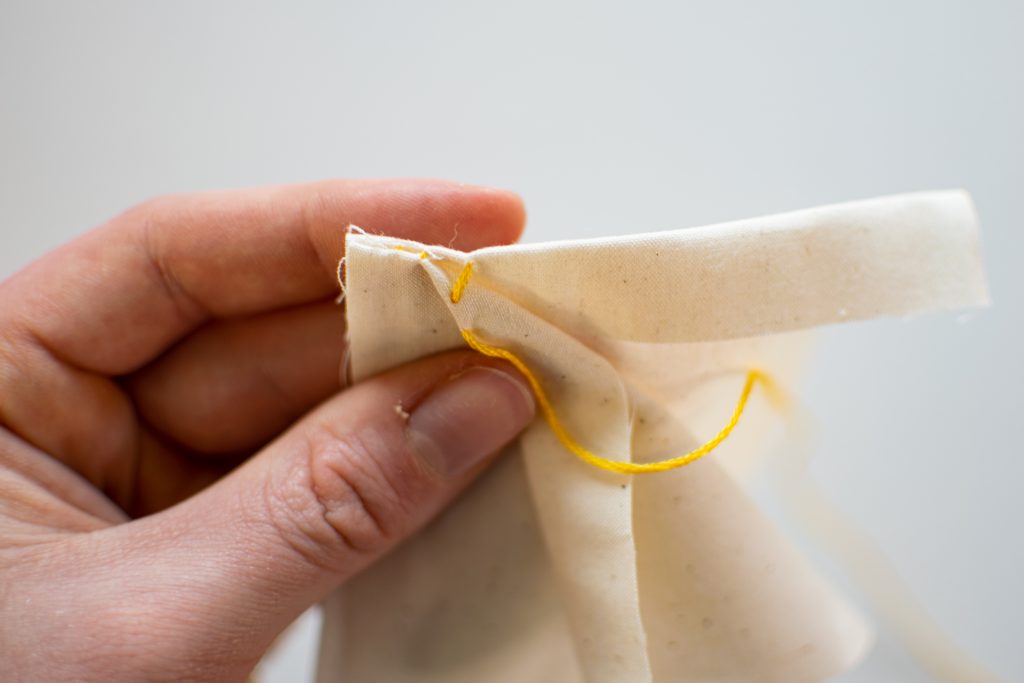
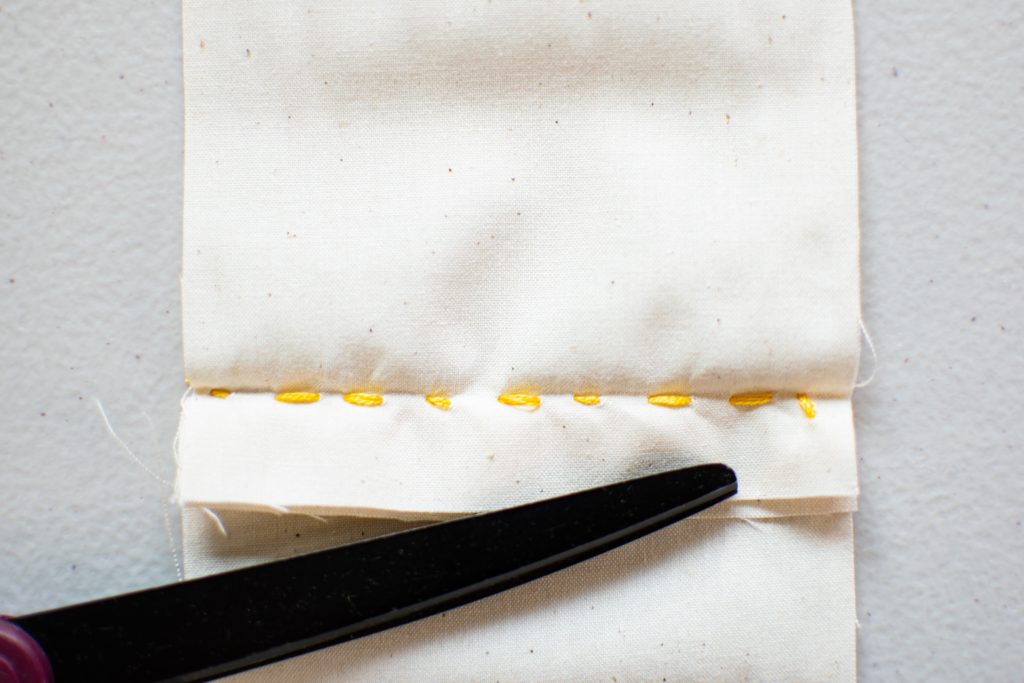
Here’s how it will look from the wrong side:
I hope you’re feeling confident and ready to tackle some new hand sewing stitches with your kids to help them continue to build their sewing skills and have some fun along the way!
