

Are you looking for a fun and cute hand sewing project for you or your kids? No sewist can go wrong with an adorable sheep pincushion! This useful, yet charming, sewing project is simple and quick – you’ll have your finished pincushion in an hour or less.
What you need to sew a felt pincushion
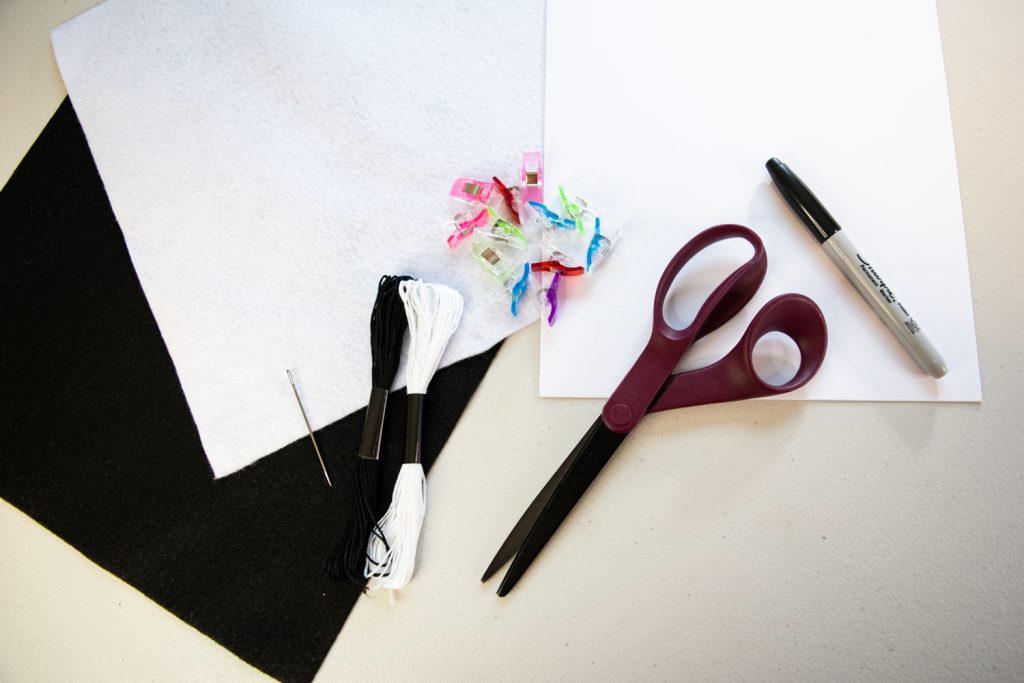
Here are the supplies you’ll need to make your new sheep pincushion.
- 12-inch square each of white and black felt
- white and black embroidery thread
- pillow batting
- tapestry needle
- scissors
- pins and/or clips
- pen or sharpie
How to sew a felt sheep pincushion
Ready to learn how to sew this adorable little sheep? Below is a step-by-step tutorial to sewing this felt pincushion in just seven steps.
- Make your paper template pieces
- Cut your fabric pieces
- Sew the eyes of the sheep
- Sew the head and tail onto the body of your sheep
- Start sewing the front and back of the sheep together
- Stuff the pincushion with batting
- Finish sewing the front and back together
Step One: make your paper template pieces
First, you’ll need to get the creative juices flowing by creating the paper templates for the pieces of your sheep pincushion.
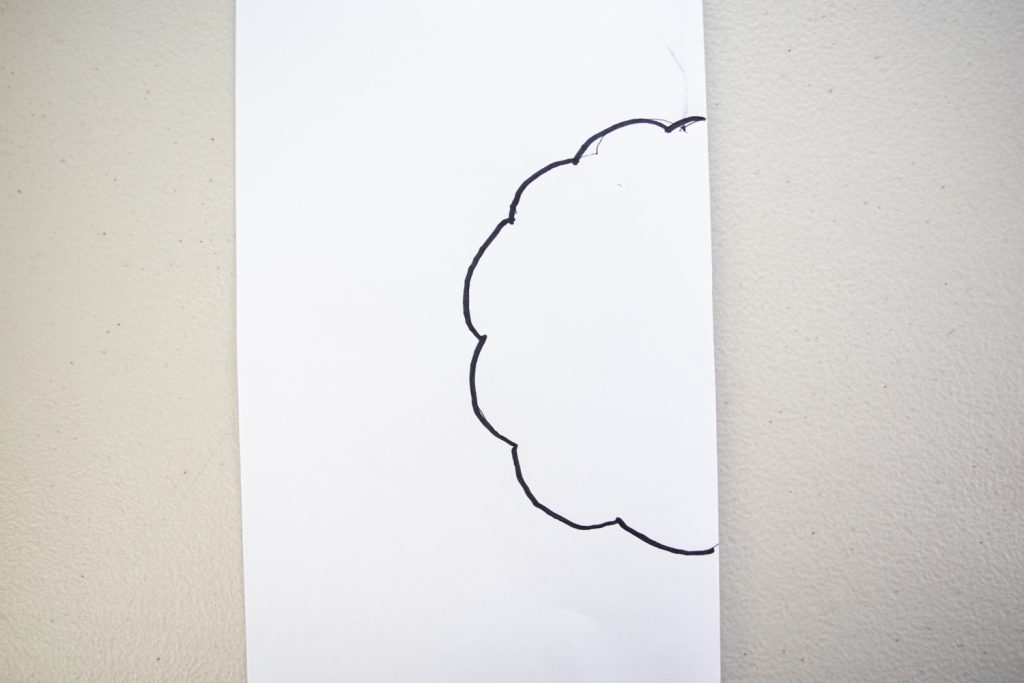
Let’s start with the body of the sheep. Fold a piece of paper in half and draw a large half circle with wavy sides, with the center of the circle at the fold of the paper. It can help to draw in your shape with pencil so that you can easily erase and adjust until you’re happy with how it looks.
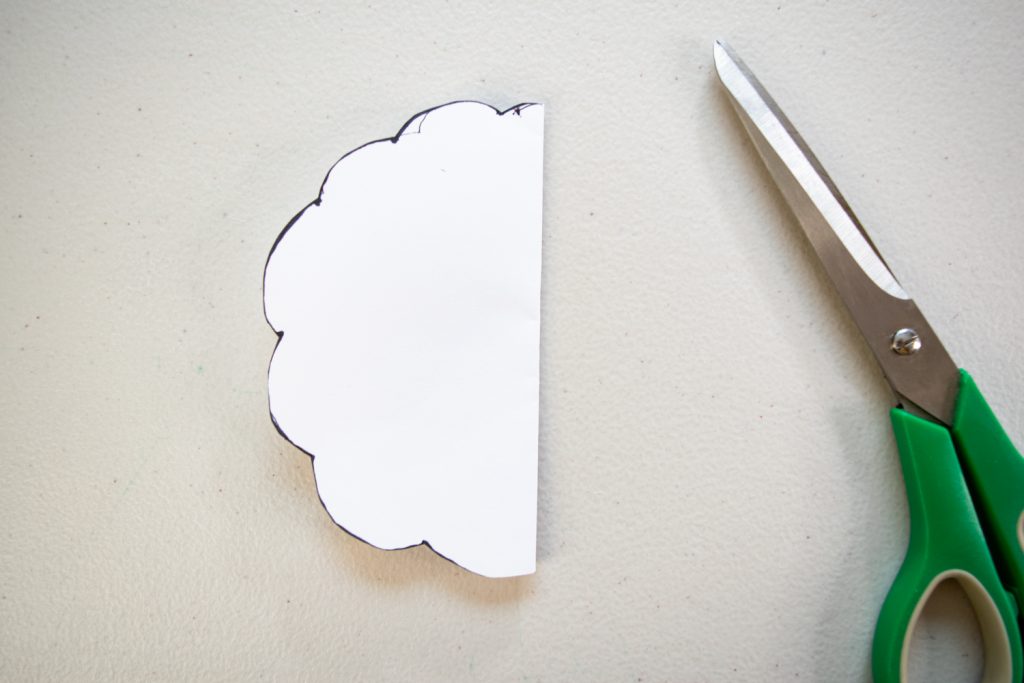
Next, cut along the wavy lines, leaving the fold of the paper intact and cutting through both layers of paper.
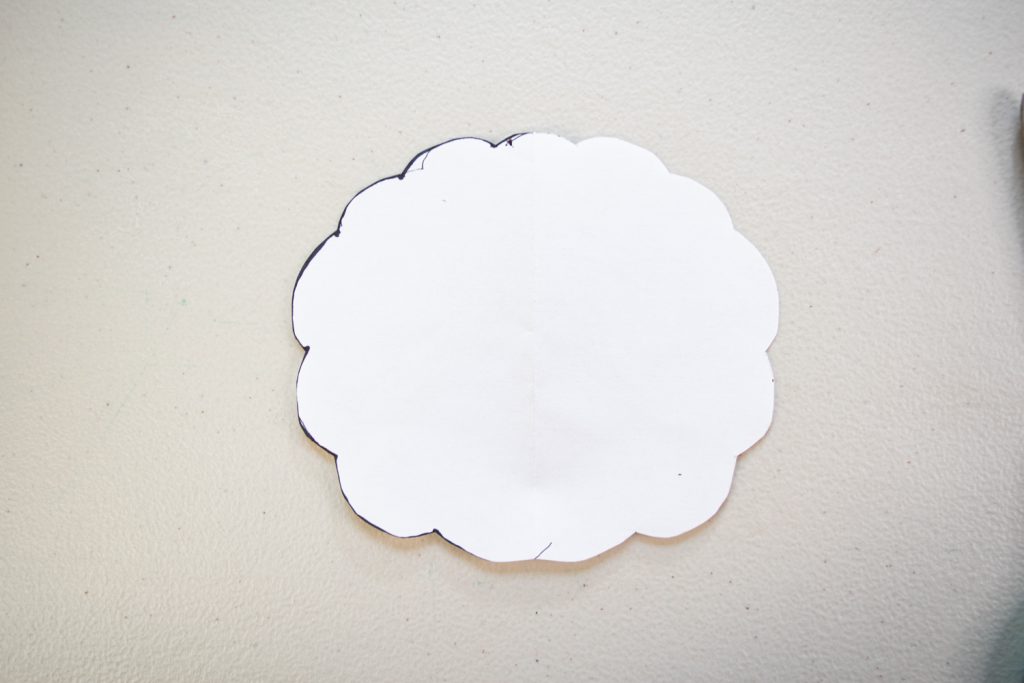
When you unfold the paper, you’ll have a nice, symmetrical fluffy sheep body.
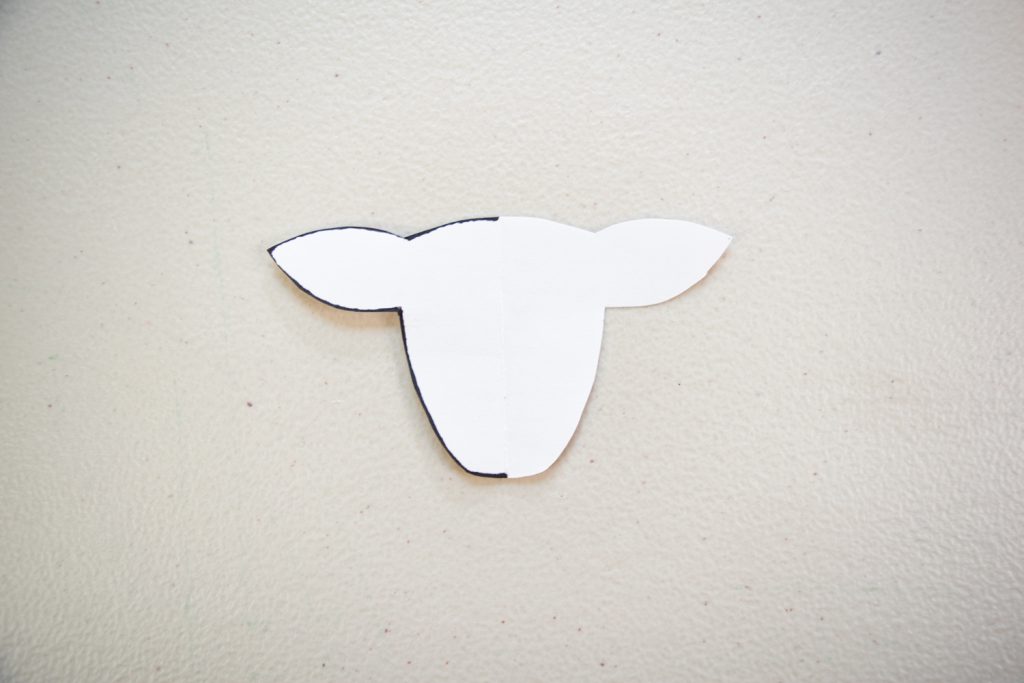
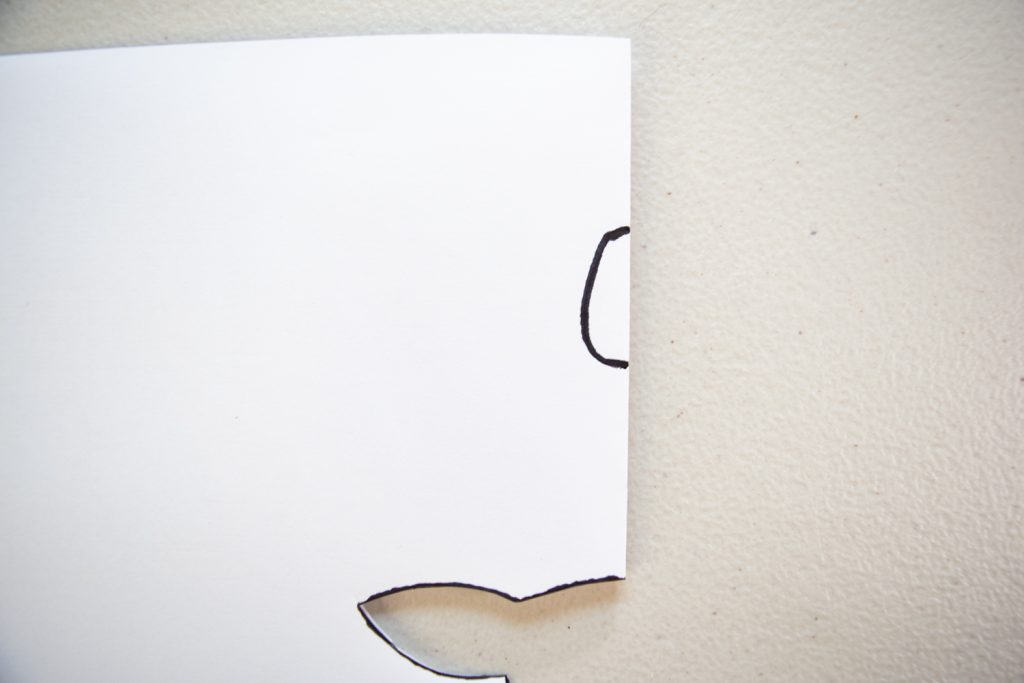
Next, fold another piece of paper in half and draw in half a sheep face, centered on the fold of the paper.
Cut around this half sheep face, once again making sure to leave the fold of the paper intact.
Cut around this half sheep face, once again making sure to leave the fold of the paper intact.
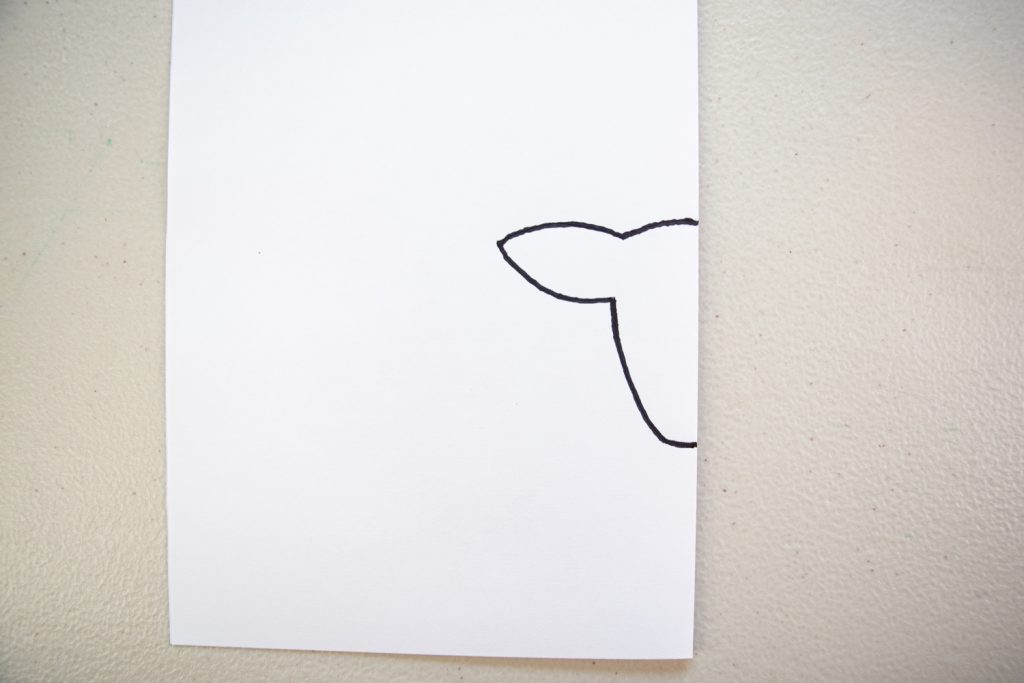
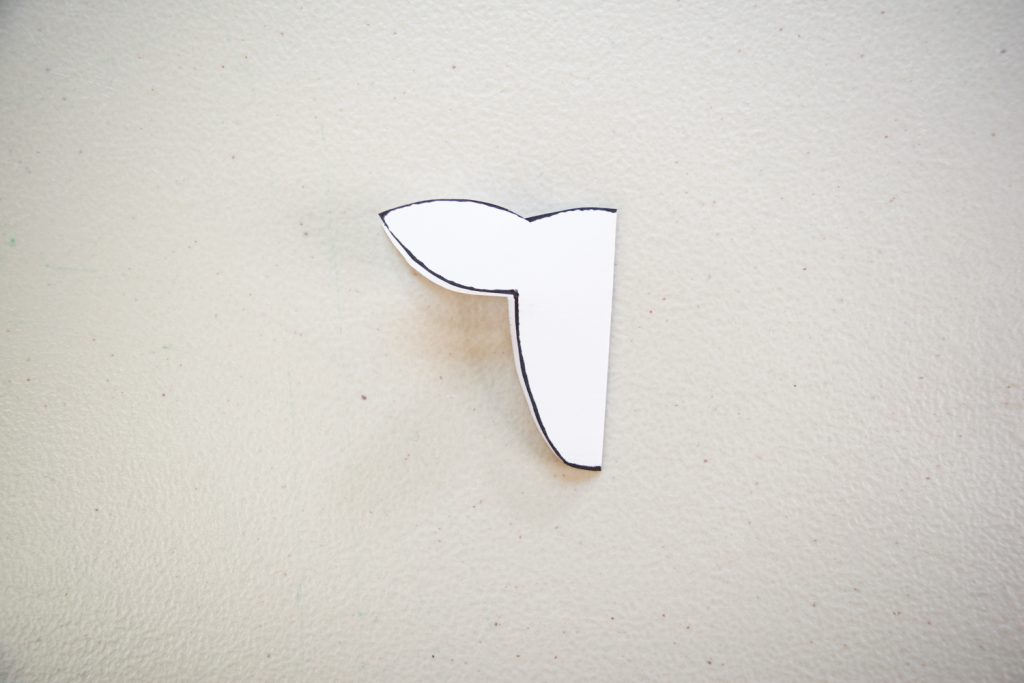
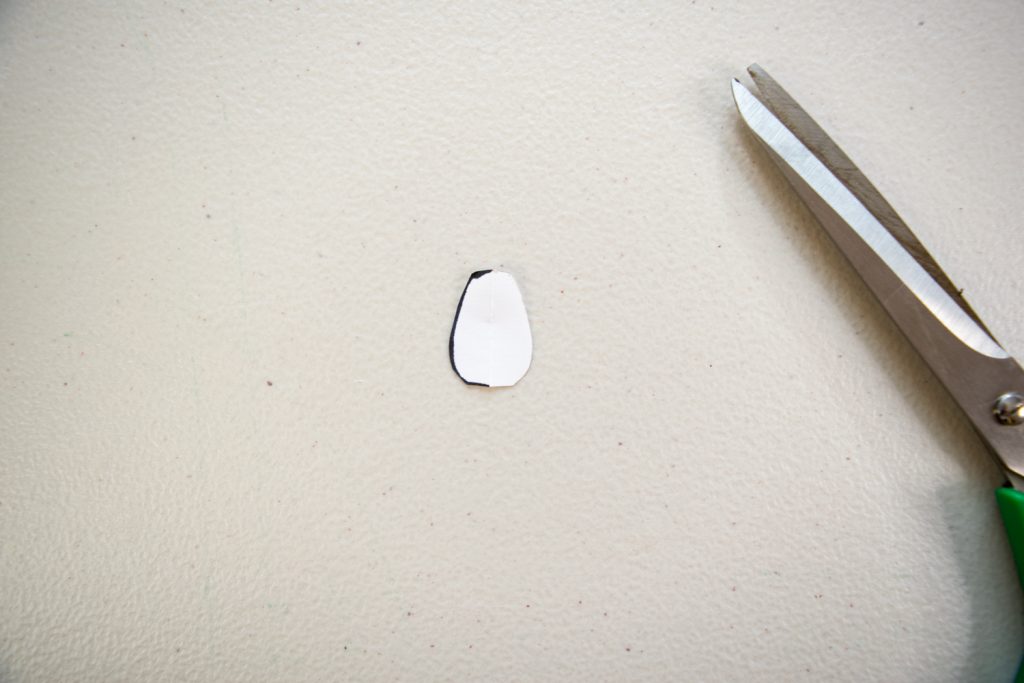
Finally, it’s time to make the template for the sheep’s tail. Using the same piece of paper you used for the sheep’s head, draw in a half teardrop shape for the tail along the fold.
Cut this tail piece out the same way you cut out the body and head – when you unfold it, you’ll have a full sheep’s tail.
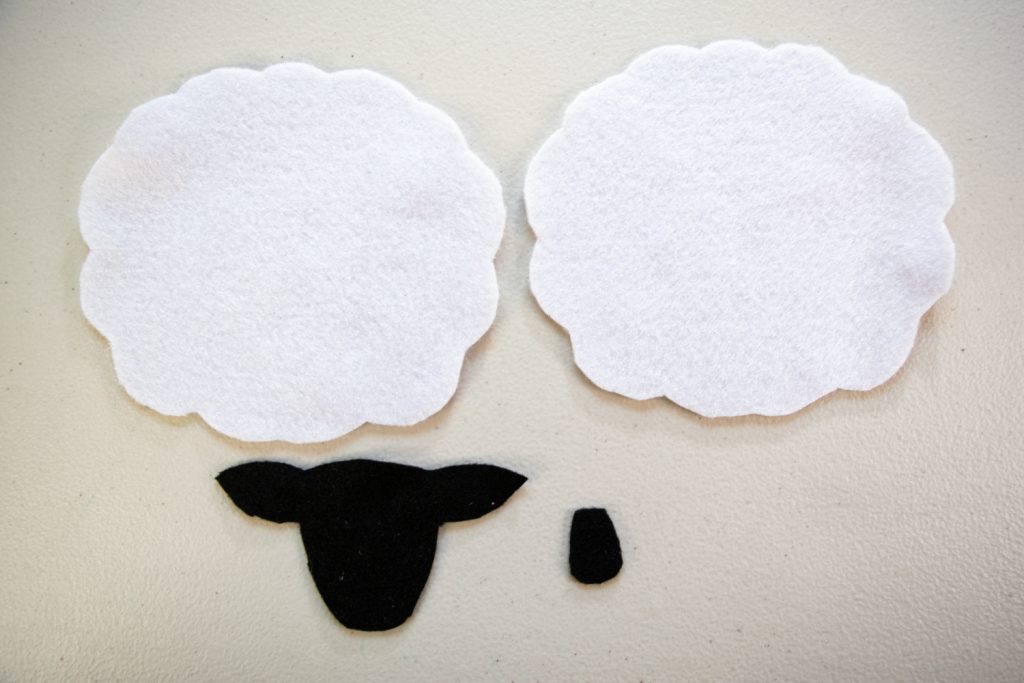
Here are what the three template pieces look like all together:

Step Two: cut your fabric pieces
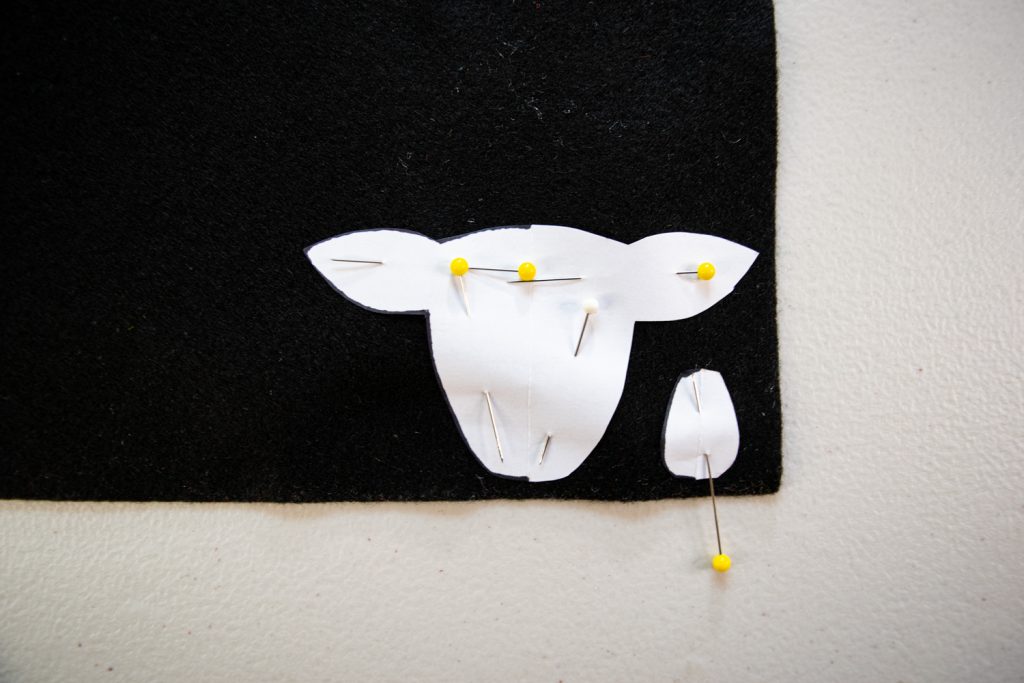
Next, it’s time to cut out the pieces of your pincushion from the felt. First, place the sheep body piece in one corner of your white felt and pin it in place.
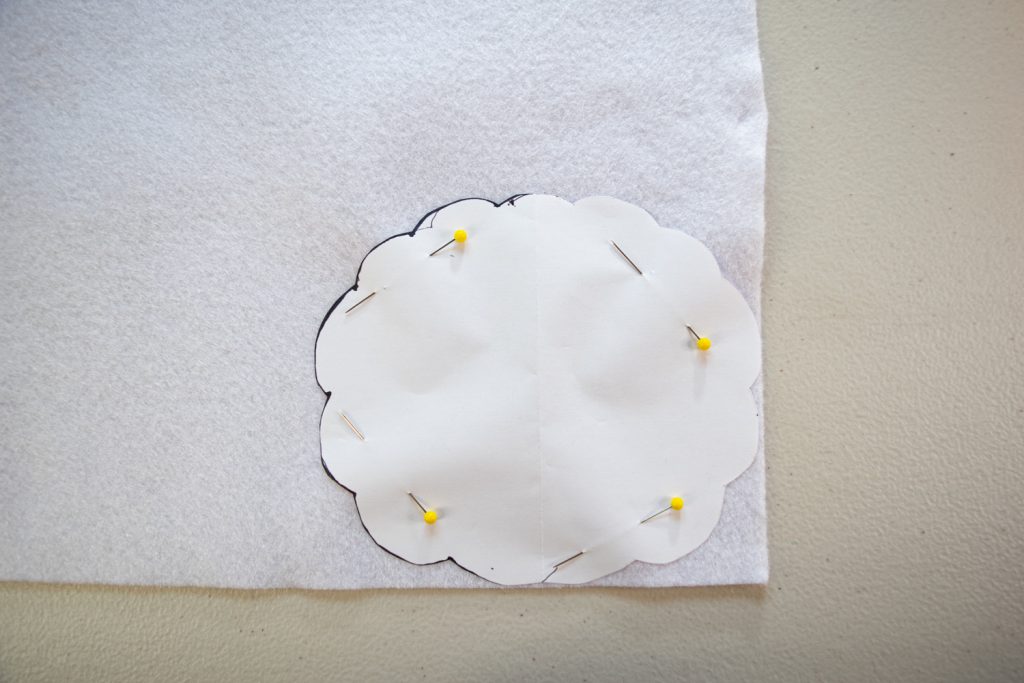
Cut carefully around the curves of the sheep body piece, you’ll now have one side of your pincushion cut out.
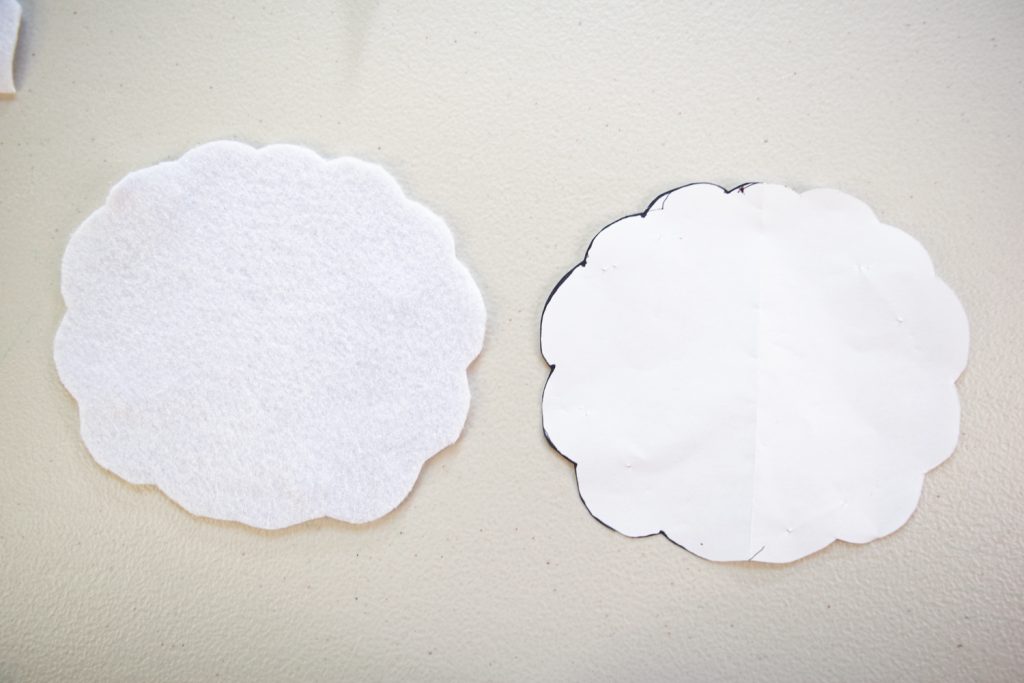
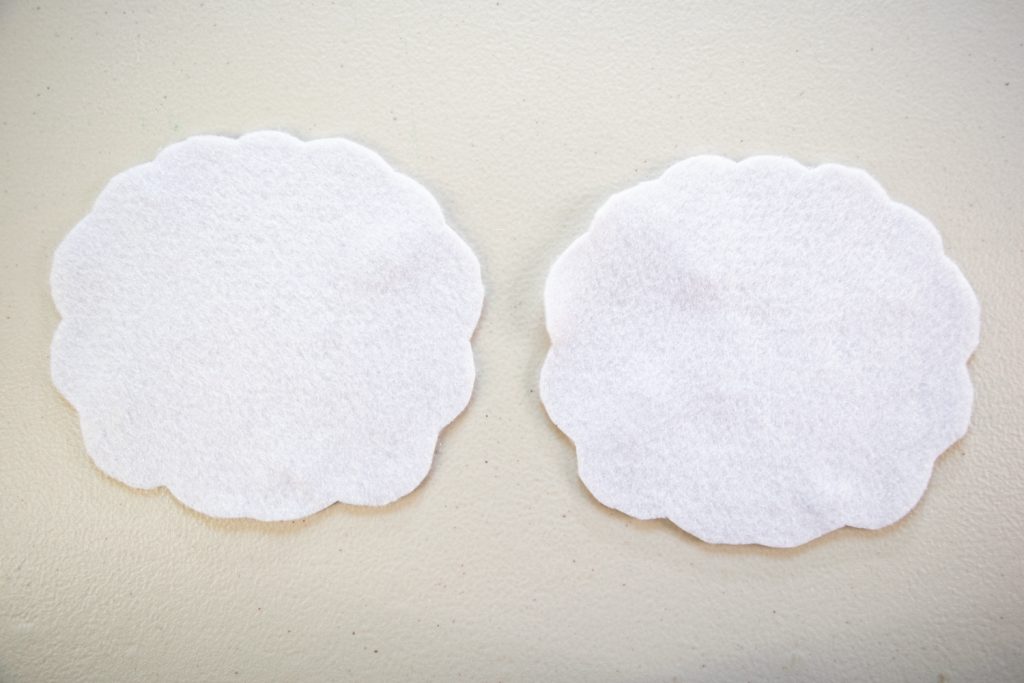
Repeat that process to cut a second body piece from the white felt.
Next, pin the sheep head and tail template pieces to the black felt and cut them both out. You’ll only need one copy of each of these pieces.
You now have all the pieces needed to put together your adorable felt sheep pincushion.
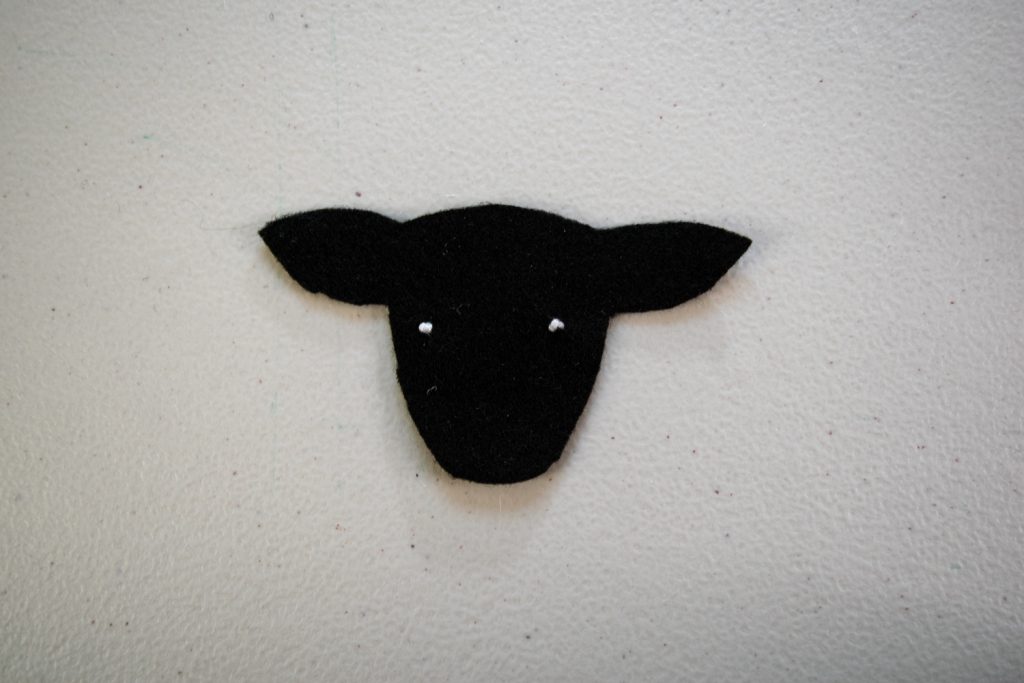
Step Three: sew the eyes of the sheep
Next, your sheep needs some eyes! French knots are perfect for stitching the eyes onto your sheep’s face.
To sew a French knot, first thread a needle with a single layer of embroidery thread and knot the long end.
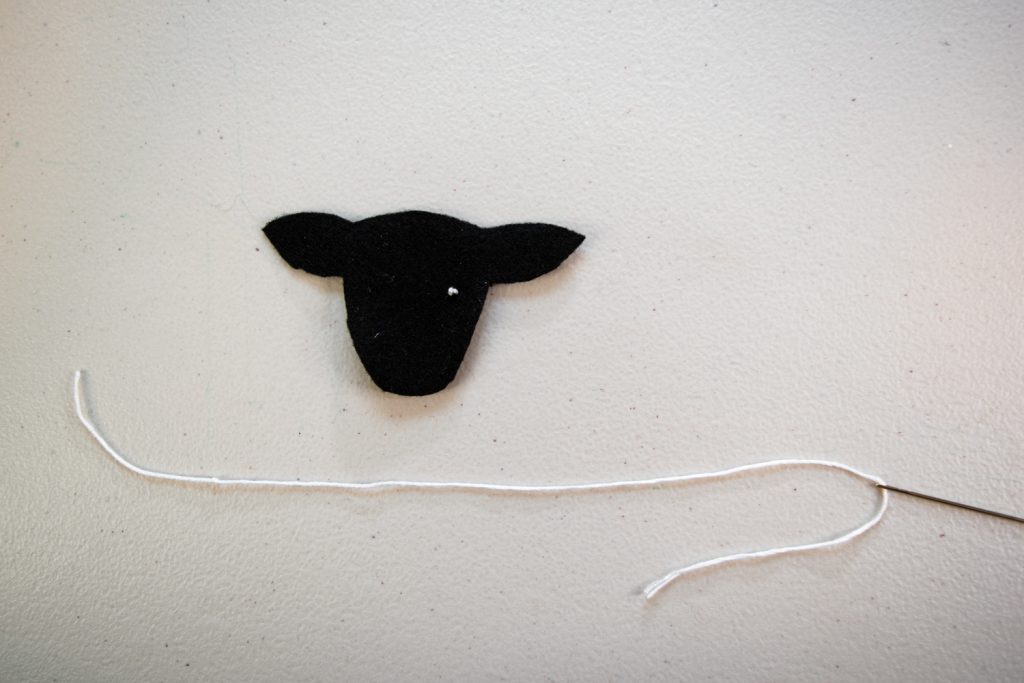
Push the needle up through the fabric from back to front in the spot you want the eye to be placed. Pull the thread through until the knot is flush against the back of the fabric.

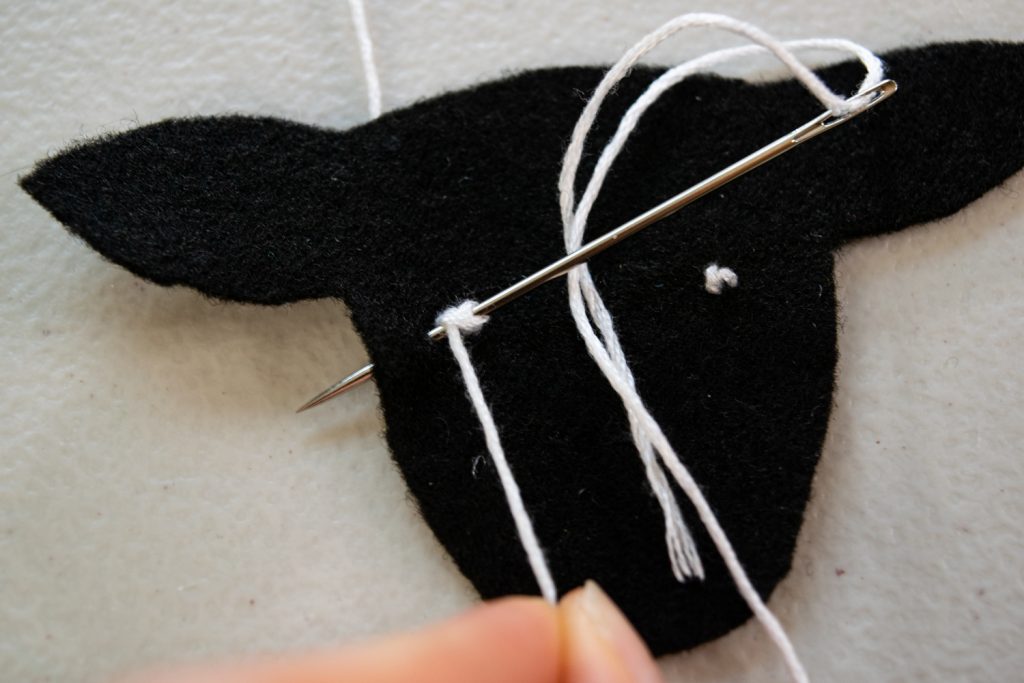
Holding the needle in one hand and the thread emerging from the fabric in the other hand, wrap the thread around the needle from back to front, as shown below. Wrap the thread around the needle twice for a nice full knot.

Insert the needle back down through the fabric right next to where the original thread is emerging from (but not in the same exact hole). With the needle partially through the fabric, hold the wrapped thread taut and push the looped threads down against the fabric at the base of the needle.
Continuing to hold the thread taut and keeping the looped threads against the fabric, continue to push the needle the rest of the way through. Pull the thread all the way through the fabric and tug it gently to secure the knot.

Knot and trim the thread tail on the back of the fabric to lock everything in place. Your sheep now has eyes!
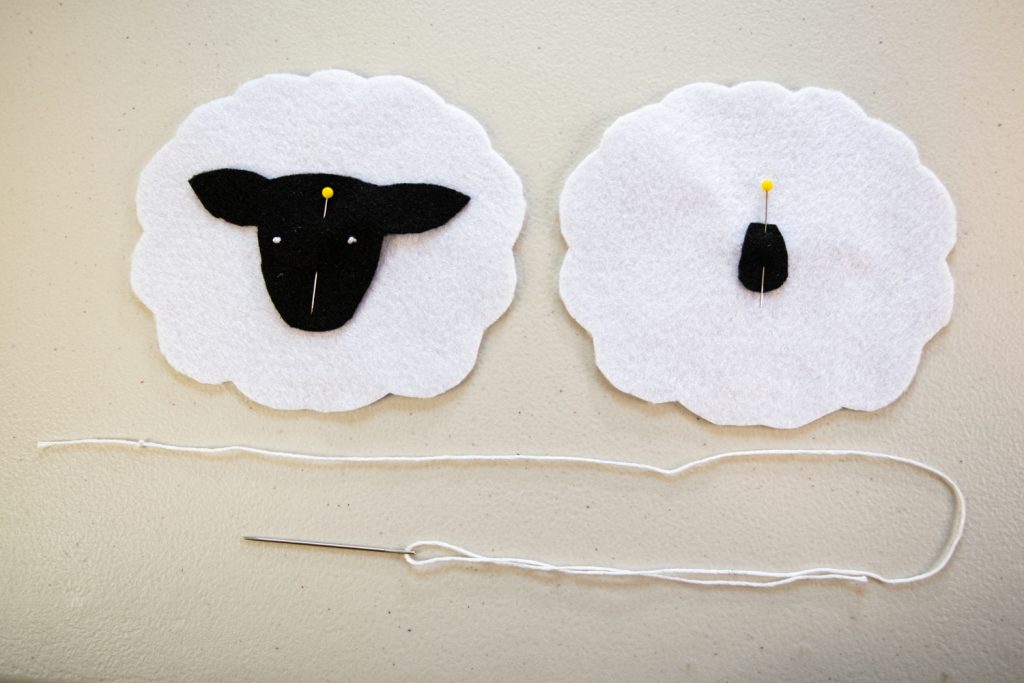
Step Four: sew the head and tail onto the body of your sheep
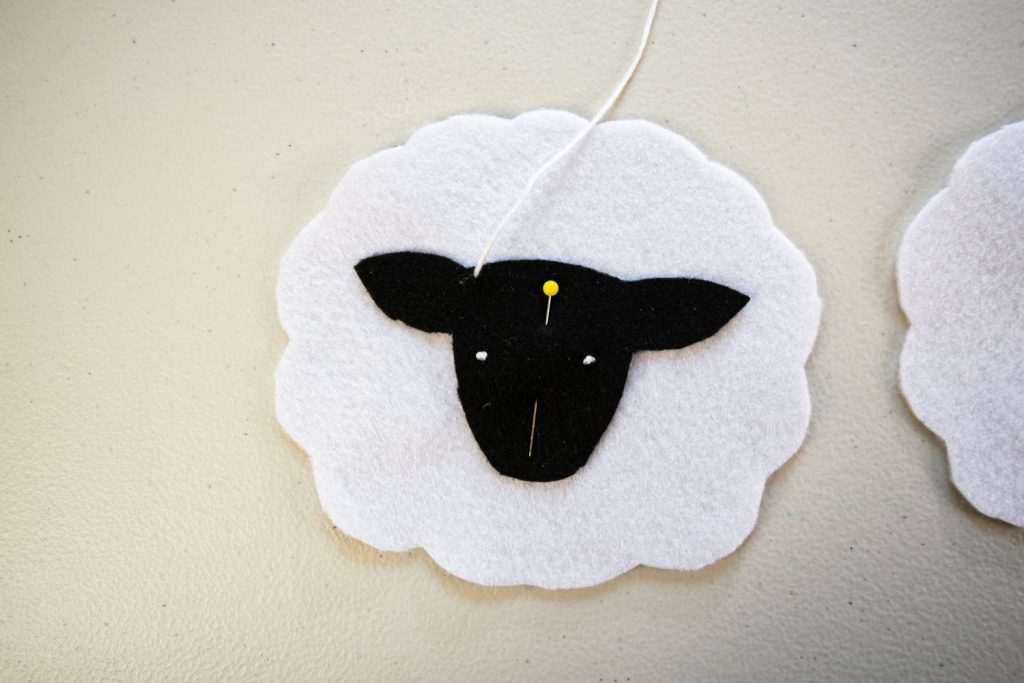
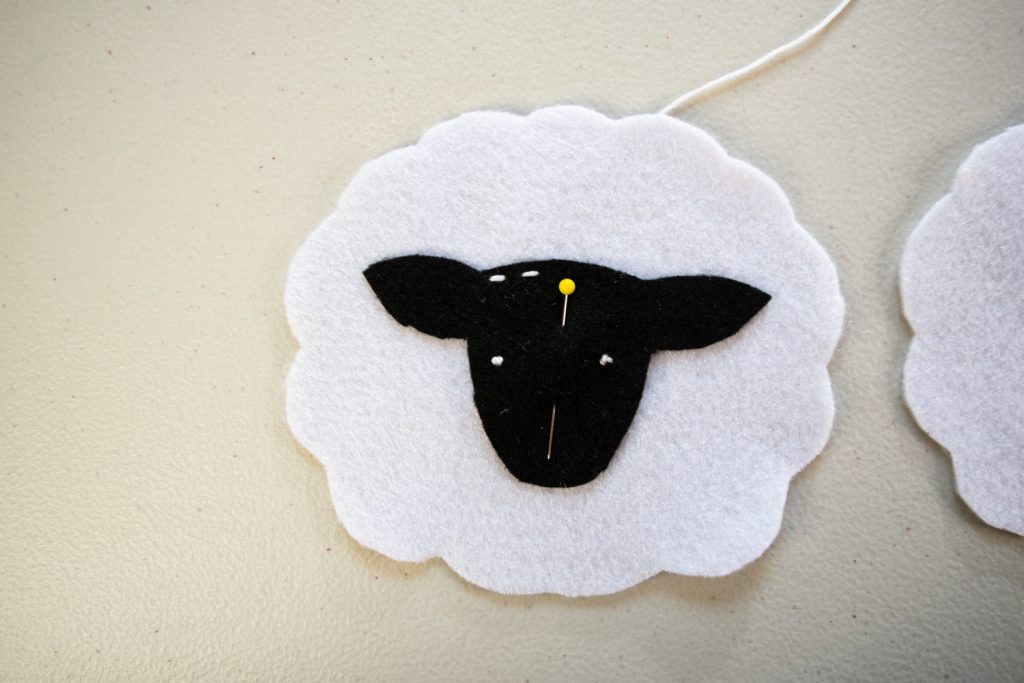
It’s time to start putting this sheep together! Pin the sheep’s head in the center of one body piece and the tail in the center of the other body piece. Thread your needle with a long piece of white embroidery thread and knot the long end.
Push the needle through the fabric near the edge of the sheep’s face, pulling it through until the knot is taut against the back of the body piece.
Insert the needle back down through the sheep’s face ⅛ inch further along the edge of the black felt and pull the thread all the way through.

Push the needle back up through the fabric ⅛ inch away from your first stitch and pull the thread taut.
Insert the needle back into the fabric again another ⅛ inch along the edge of the sheep’s face to form a second stitch.
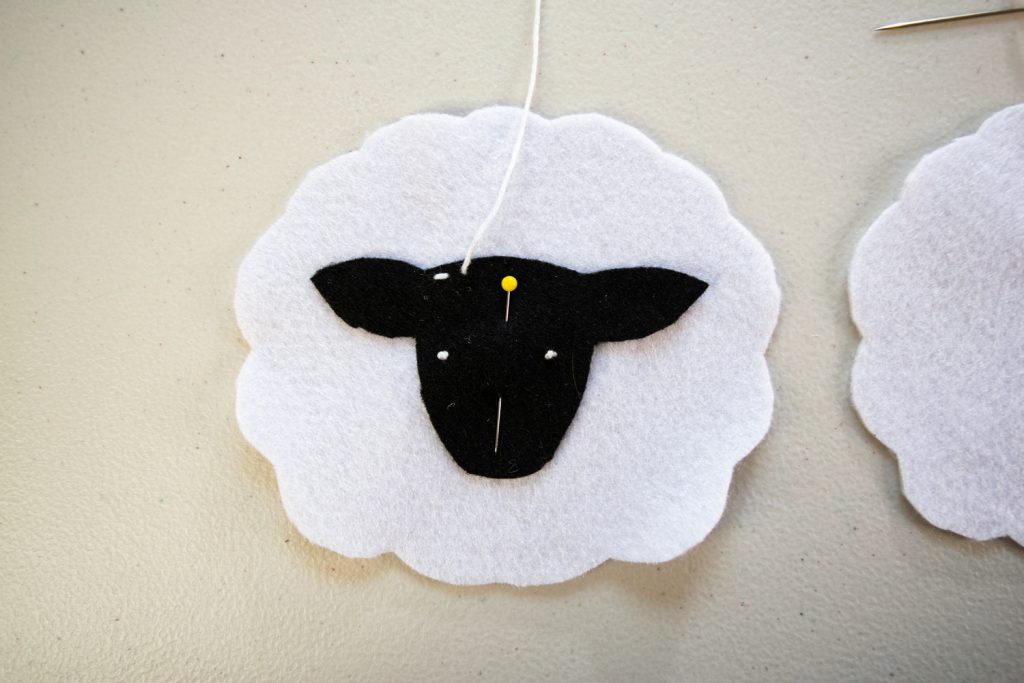
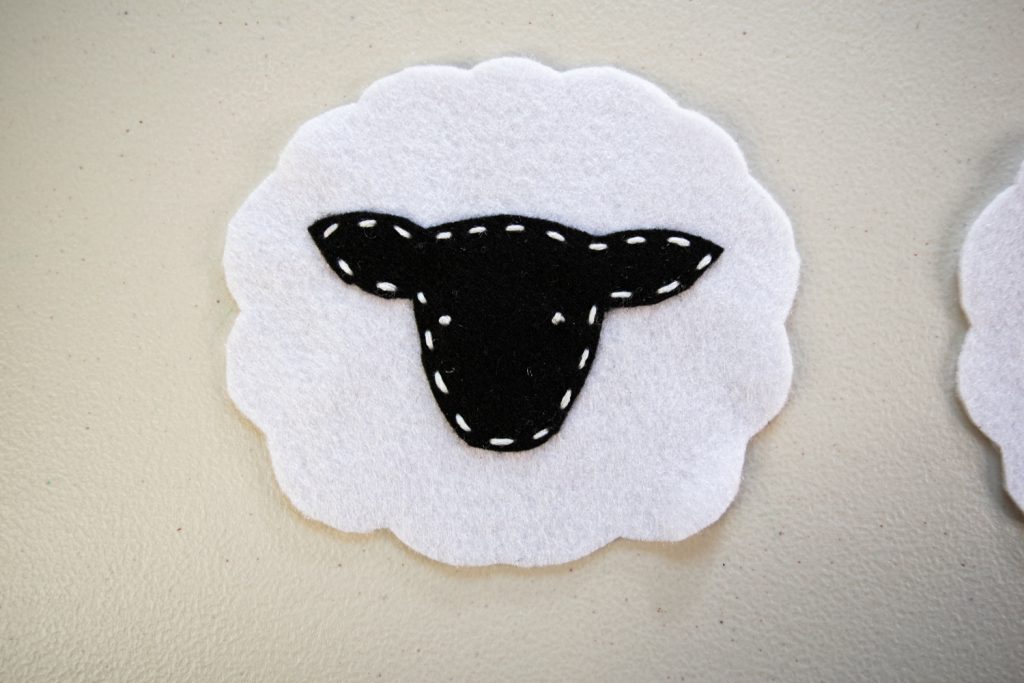
Continue this pattern all the way around the edges of the black felt to secure the face to the body of the sheep. Focus on getting nice even stitches – this will help you get great results! Once you’ve made it all the way around, knot the thread tails together and trim the excess thread away.
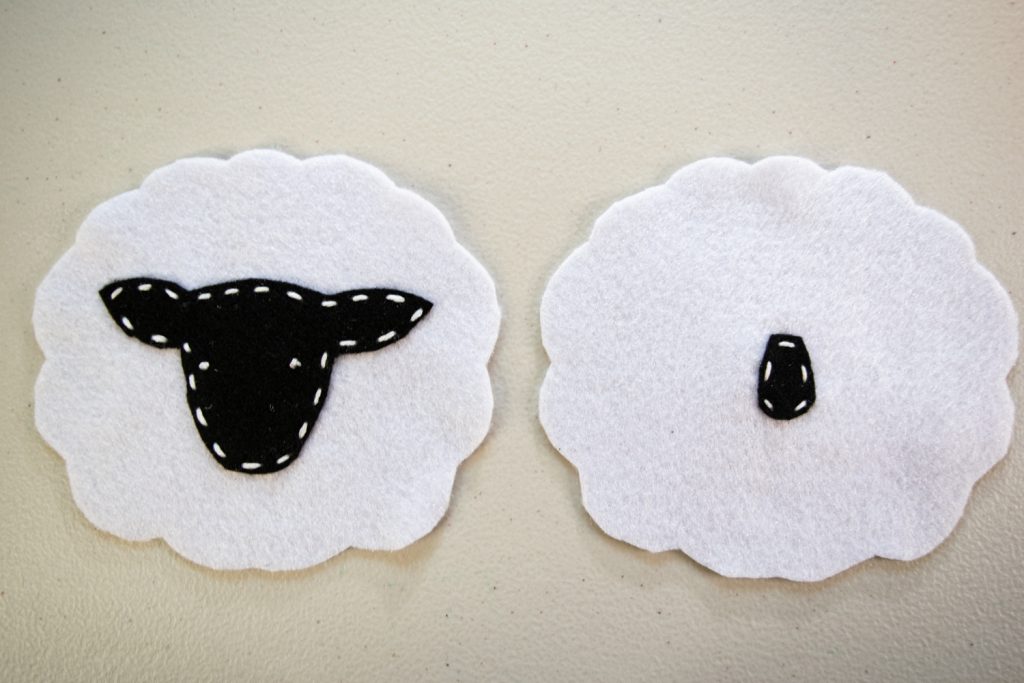
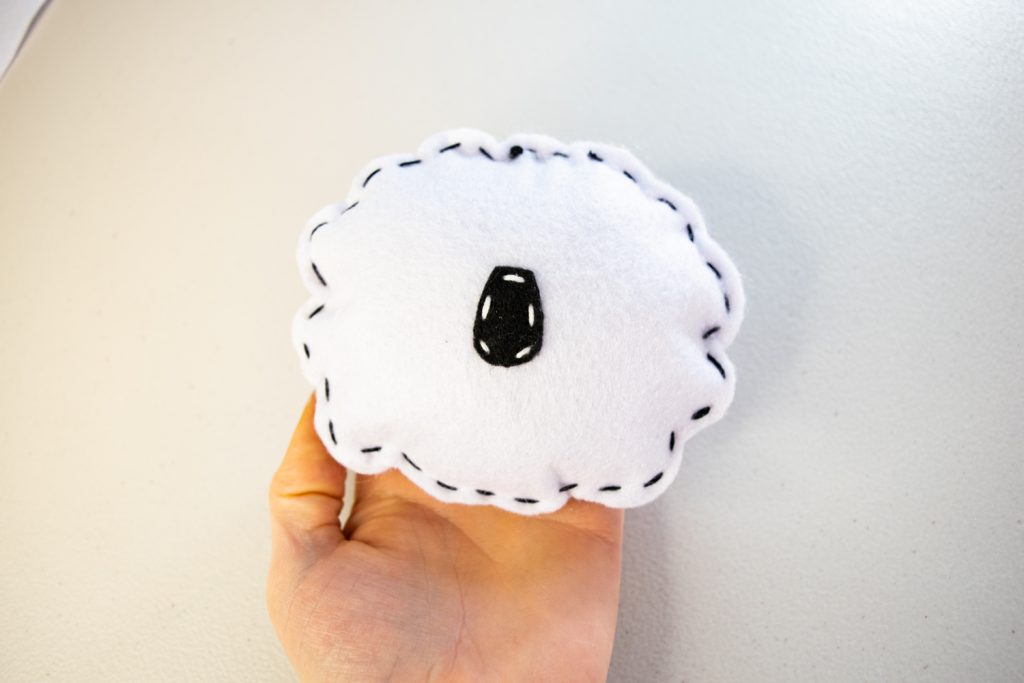
Repeat this same process to attach the tail to the other body piece.
Step Five: start sewing the front and back of the sheep together
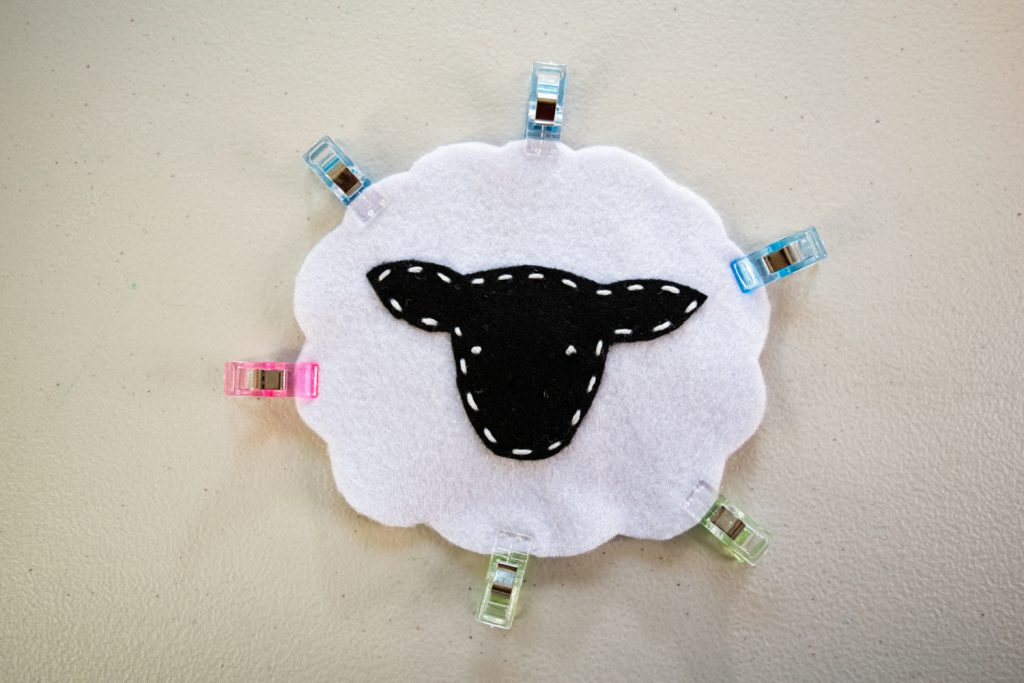
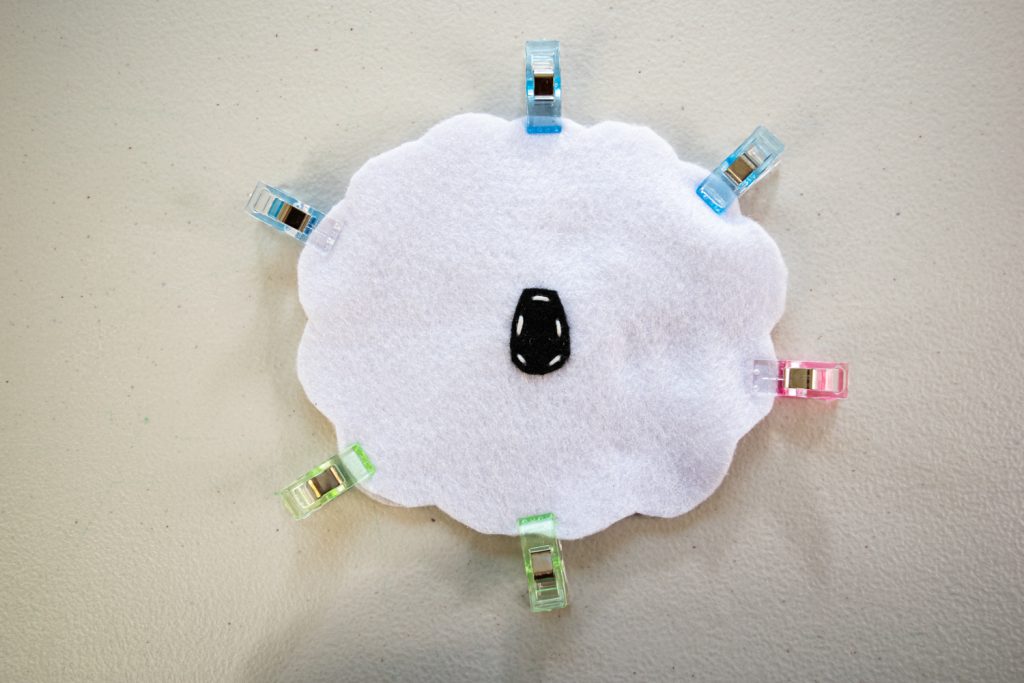
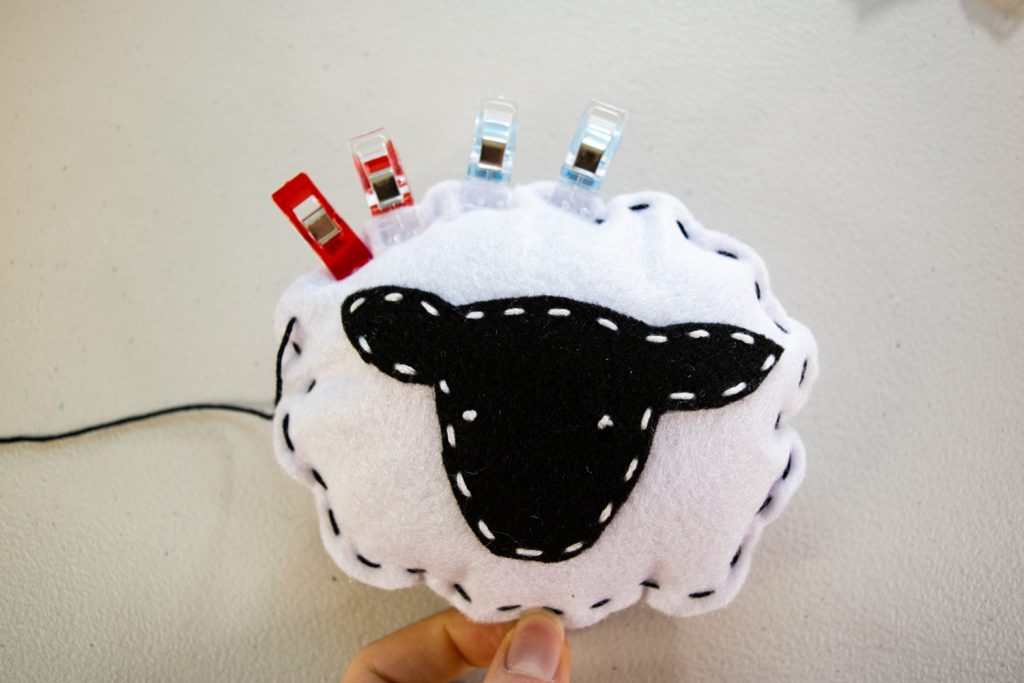
Next, we can sew the front and the back of the pincushion together. Line up the two body pieces with wrong sides together – meaning, the backsides of the fabric should be towards the inside so that the tail and head of the sheep are on the outside. Clip the two pieces together.
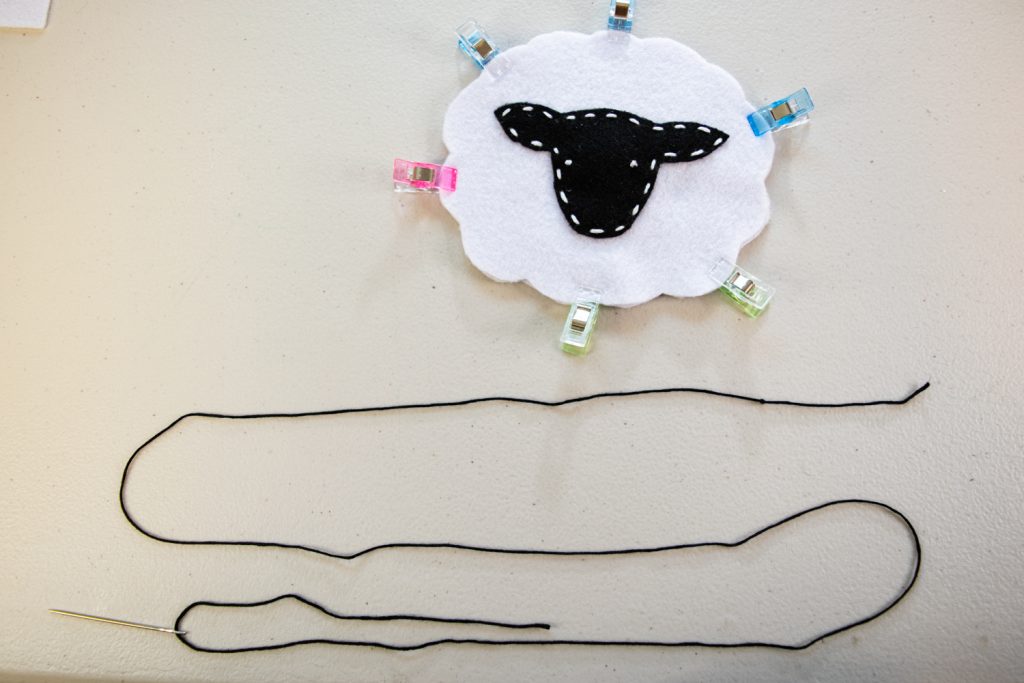
Next, thread your tapestry needle with a long piece of black embroidery thread and knot the end.
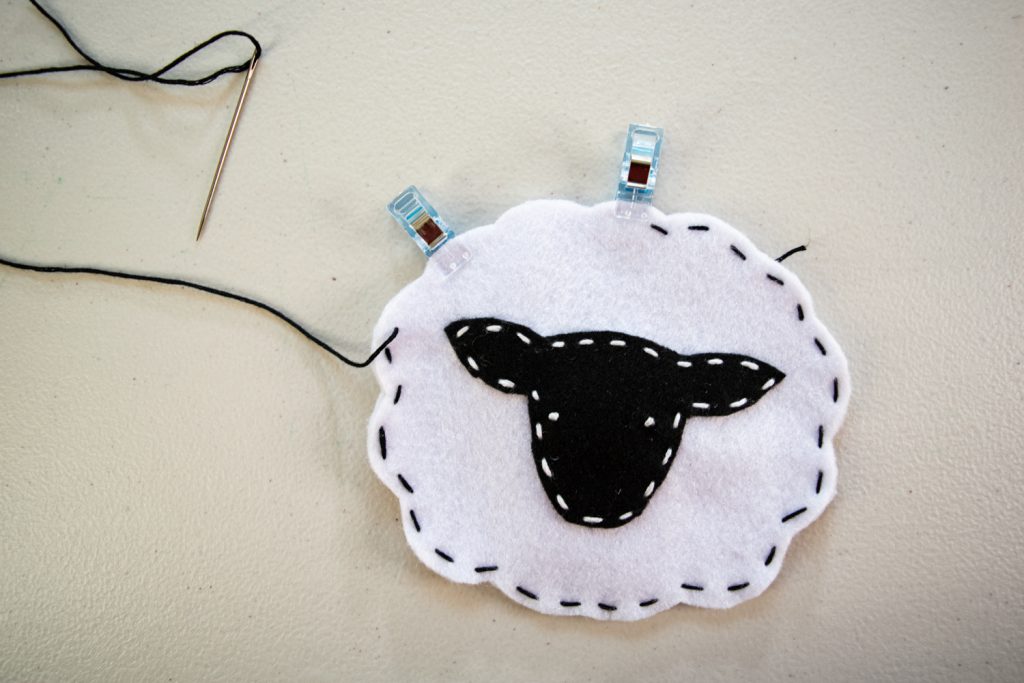
Stitch around the edge of the body of the sheep, following the curves of the fabric and using the same stitch you used to attach the head and tail pieces earlier. Stop sewing when you have 2-3 inches remaining before reaching your first stitch. Don’t tie off your thread tails, just set the needle down and pause your stitching – we need to stuff the pincushion before closing up the entire thing!
Step Six: stuff the pincushion with batting
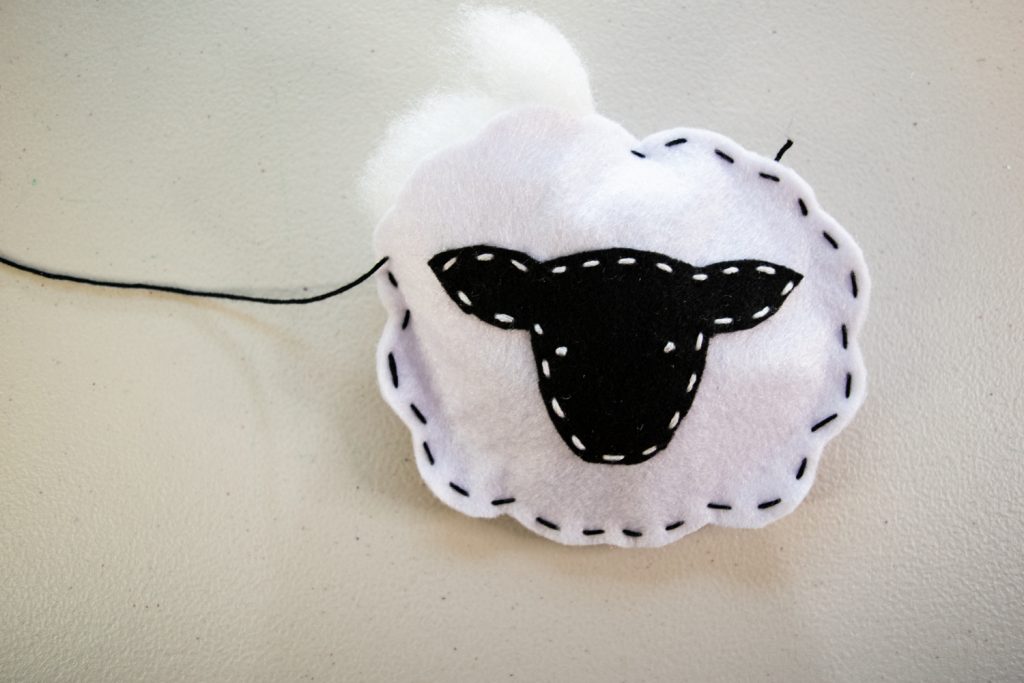
Next, grab your pillow batting and stuff the sheep through the opening in the side. Start by stuffing the side furthest from the opening and work your way back towards the opening. It’s also best to fill the sheep with as much stuffing as you can so that you’ll have lots of nice padding for the sharp ends of sewing pins.
Step Seven: finish sewing the front and back together
Once you’re happy with the level of stuffing in your sheep, clip the edges of the opening together again.
Finally, grab that sewing needle and finish your line of stitching, continuing around the edge of the pincushion until you reach your first stitch and the cushion is completely closed. Make sure the thread is coming out from the back of the sheep – it’s always best to keep the knots in the back – knot your thread tails together and trim the excess thread away.
Your charming little sheep pincushion is done!

We hope that you enjoyed this project – it’s a really great one for kids who love animals or beginner sewers who want a cute pincushion for their sewing space. If you have kids that are excited to learn how to sew, we have some fun sewing kits to keep them busy exploring their creativity!
